World Wakes, The
Quest Details
| Difficulty | Grandmaster |
|---|---|
| Type | Quest |
| Length | Very, Very Long |
| Quest Points | 3 |
| Members | Yes |
Start Point
West of the Legends' Guild.
Requirements
Skill Requirements
To Start:
100+ Combat reccomended
To access all of the rewards:
74 Firemaking
90 Prayer
70 Slayer
Branches of Darkmeyer
Ritual of the Mahjarrat
The Chosen Commander
The Firemaker's Curse
The Void Stares Back
100+ Combat reccomended
To access all of the rewards:
74 Firemaking
90 Prayer
70 Slayer
Branches of Darkmeyer
Ritual of the Mahjarrat
The Chosen Commander
The Firemaker's Curse
The Void Stares Back
Quests Unlocked/Partially Unlocked by Completing This Quest
Items Needed
None.
Items Acquired During Quest
Food and armor.
Walkthrough
-
Start by talking to Orlando Smith and he will tell you that he thinks he has found the biggest find of his career, but he needs you to open the doors to what he thinks is a temple of Guthix.
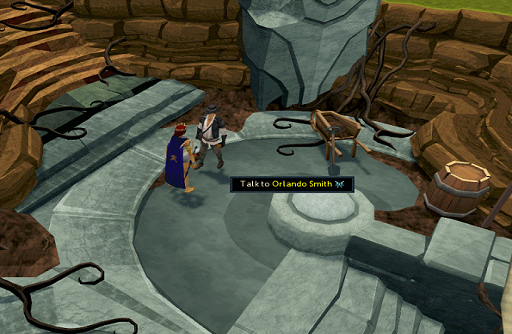 Image last updated: Jul 25, 2016 Update Image?
-
Open the doors and you will enter the temple. Orlando Smith says that he needs proof, an artifact, to prove that he was here. Search around the temple (Dusty parchment, shattered blade, scattered parchment, inactive obelisk, and stone carvings on North wall)until you have investigated everything and opened a new doorway. Enter and investigate the statue there.
Beware: In the next room Automatons level 84 will be inside.
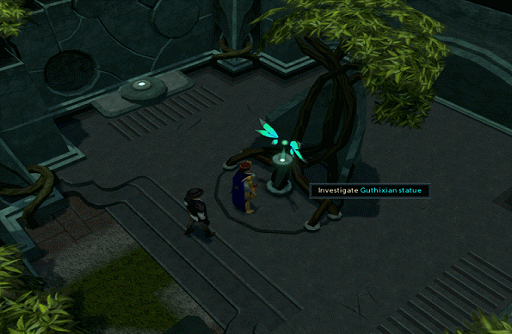 Image last updated: Jul 25, 2016 Update Image?
-
Investigating will open a new room. Entering this room, three Automaton's activate and claim that you are a Mahjarrat and kill Orlando. They will then proceed to attack you. Attack them and move away from the shockwave attack they use which is capable of hitting rapid 1000+. (Note: If you die, your grave will appear outside the Guthix Temple).
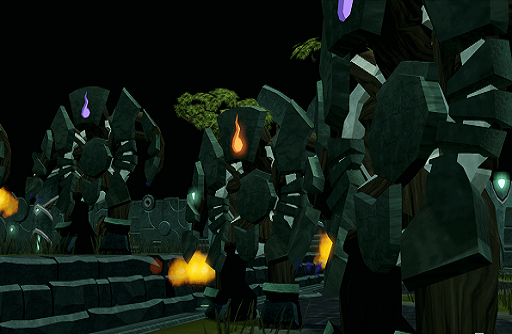 Image last updated: Jul 25, 2016 Update Image?
-
Once they are dead, a Shadowy figure will appear and claim to be Guthix. Choose an answer and he will then reveal himself to be the Mahjarrat Sliske. Sliske tells you that Guthix is still sleeping within the temple. A cutscene will follow in which Sliske shows you the edicts of Guthix sending out an alert that his sleeping chamber has been discovered and that this signal has come to the attention of the God Wars Dungeon generals and Zemouregal, who are now on their way to the temple to kill Guthix.
 Image last updated: Jul 25, 2016 Update Image?
-
Sliske lets you know that you are the center of it all, and everyone either wants you on their side or will kill you if you get in their way. He tells you to hurry before it's too late, but Kree'arra, K'ril Tsutsaroth, and Commander Zilyana crash through into the room.
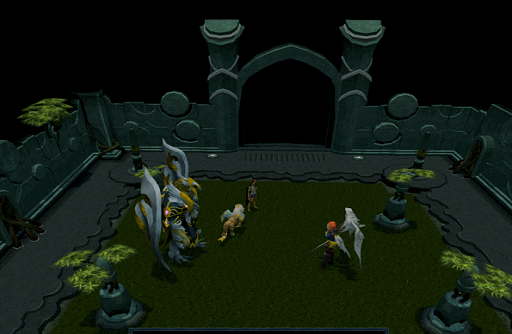 Image last updated: Jul 25, 2016 Update Image?
-
Kree'arra stays back to convince you to leave, but you must fight. During the fight small tornadoes will appear around the room, which hit rapid 1000+ if they come into contact with you. Kree'arra will also use a powerful special attack which can be avoided by hiding behind the objects in the room. Once defeated, pass through the doorway and you'll see K'ril Tsutsaroth, and Zilyana struggling at opening a doorway. They will leave to find another way in, but warn you to leave or harm will come to you.
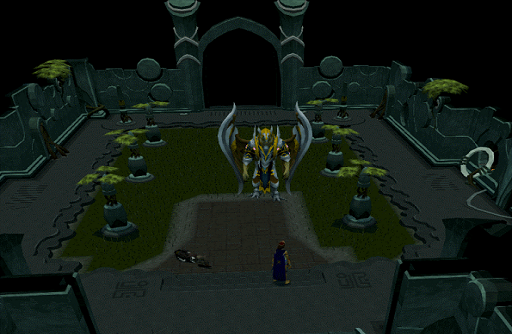 Image last updated: Jul 25, 2016 Update Image?
-
Go to the control panel and Juna and Death will appear. They will ask what you are doing here, answer them and they will tell you they are the Guardians of Guthix and must reach him. There is no quicker way to reach Guthix and they tell you to look at the control panel.
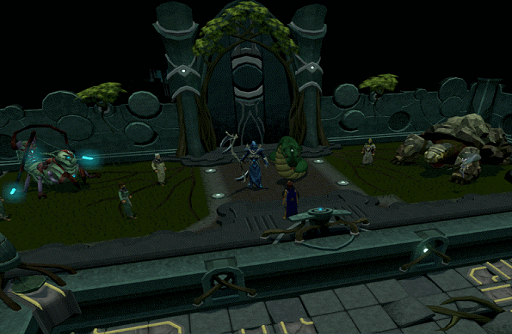 Image last updated: Jul 25, 2016 Update Image?
- To do the puzzle, you need to rotate the pieces of track to build a path from the active boulder (found in one of the corners of the puzzle, click it to start it rolling) to the active destination. This is done by releasing gates along the path at appropriate moments to allow the boulder to reach the active destination successfully. After getting 4 boulders in the destinations, the door will open and you will be on an elevator.
Puzzle 1:
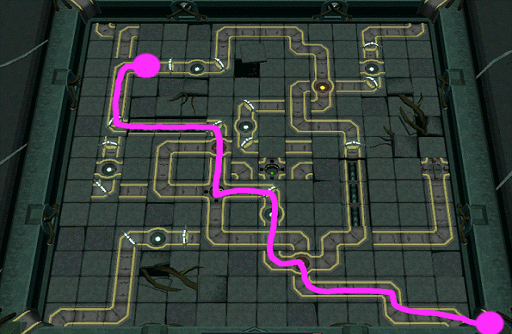 Image last updated: Jul 25, 2016 Update Image?
Puzzle 2:
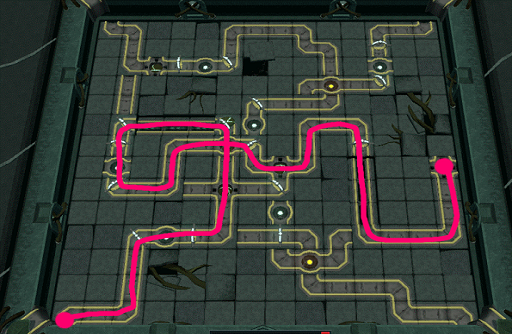 Image last updated: Jul 25, 2016 Update Image?
Puzzle 3:
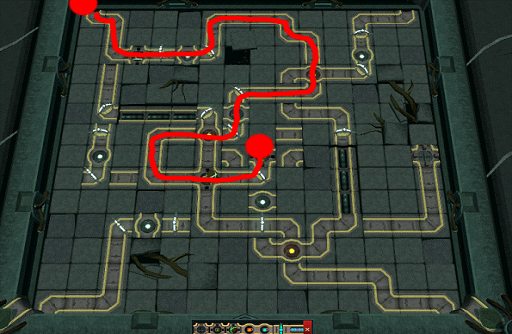 Image last updated: Jul 25, 2016 Update Image?
Puzzle 4:
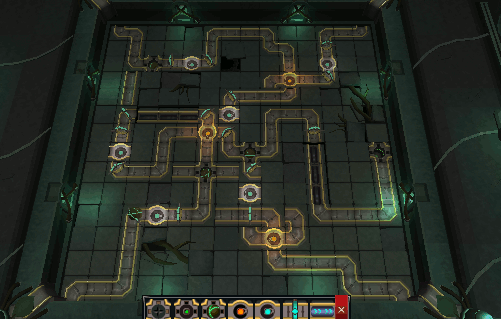 Image last updated: Jul 25, 2016 Update Image?
-
Off the elevator, an Unknown Automaton will speak with you and eventually he will remember his name is Cres. He warns you that this is where the great battle will be taking place, as it is the last barrier before Guthix. He will tell you to go to the Strange Map behind him. Inspect it, and it will ask you questions. You must choose answers so that Good, Order, Chaos and Evil all stay in balance. After you have done this, Guthix's blessing will shine upon you, and you will learn that your destiny is to be a Guardian of Guthix.
 Image last updated: Jul 25, 2016 Update Image?
-
Cres tells you that the surrounding storage rooms are where the enemy are most likely to enter the chamber and asks you to assign the Guardians of Guthix to each of the four entrances. Assign Chaeldar and Thaerisk to the first room, Cres and his minions to the second, Death to the third and Fiara and Valluta to the fourth. After assigning them, speak to Juna to continue.
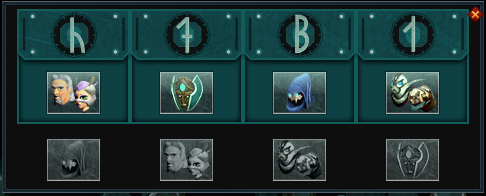 Image last updated: Jul 25, 2016 Update Image?
-
Before entering the storage rooms, you can restore your health and prayer, and increase the damage of your attacks by drinking from the three cauldrons. Enter the first storage room and you will face General Graardor. When fighting Graardor, he will smash the ceiling and make an AOE on the ground, keep moving out of the shadows on the floor or you will take damage. Defeat him and go back into the main chamber.
Enter the second room and you will find Zemouregal, who cannot be damaged until the blue portals in the room have been destroyed. Destroy the portals when they spawn and defeat Zemouregal, then go back into the main chamber again.
Enter the third room and you will fight K'ril Tsutsaroth. He will use three special attacks that can be avoided simply by moving away. Once he's defeated, head into the fourth room.
Here you'll find Enakhra. She will periodically heal herself by draining your health, which can be prevented by running behind the obstacles or use anticipation/freedom. At 50% health, she will begin pinning you to the ground and draining health, you can break free of this with the Freedom ability.
An alternative strategy is to attack her with Ranged or Magic, and then hide yourself behind the pillars at appropriate times.
Once Enakhra is finished, you'll be called back to the main room, where you will see that Juna is surrounded by a barrier. Speak to Cres and he will tell you that Zilyana has snuck in and is trying to make the attack to Guthix's sleeping place and tells you to speak to Juna.
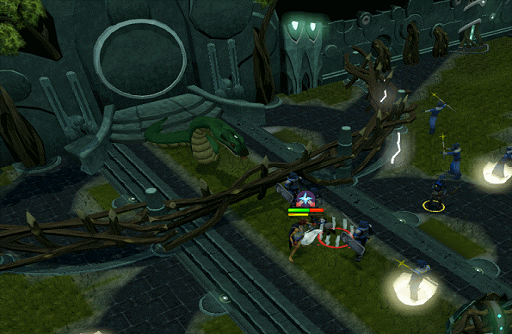 Image last updated: Jul 25, 2016 Update Image?
-
Speak to Juna and she'll tell you to guard her and repair the barrier while she prepares. Then out of Zilyana's portals, Saradomin archers, mages and warriors will appear and attack the barrier. Fight them off until Zilyana arrives, after which the Zarosians will also arrive, and you will now need to make a decision on who to follow.
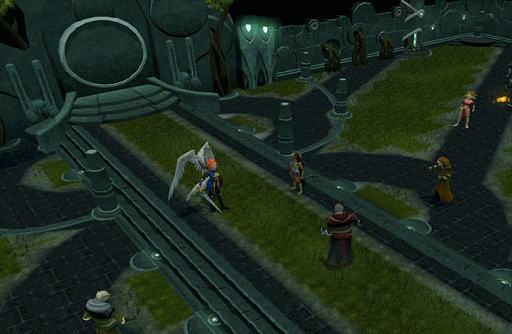 Image last updated: Jul 25, 2016 Update Image?
-
Picking a different side during the quest will only have minor differences, you will still get the same result. The only noticeable differences are the color of the fire, the conversations and the top you receive as a reward. Below explains what happens when you side with Guthix.
Zarosians decide that if you stand against them, you must be destroyed, but before it can come to that, there is movement in Guthix's chamber and Juna says that someone has broken in. You must now try to protect Guthix. Enter the doorway and you will need to run through the tunnel, avoiding the fireballs.
Note: Easiest way is to follow closely right behind a fireball when It leaves the platform you start on and don’t stop.
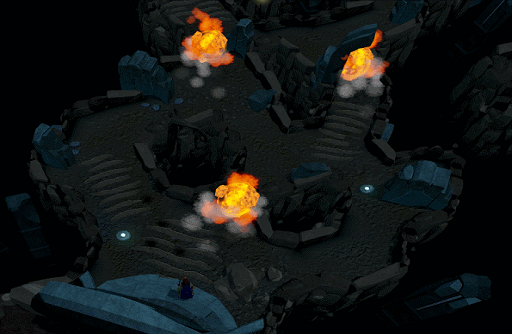 Image last updated: Jul 25, 2016 Update Image?
-
When you reach the end of the tunnel, you will see Guthix and then Sliske will appear and attack him with the Staff of Armadyl and disappear. Guthix asks you to come to him and tells you he is dying, but he must first show you something. He takes you to the land he came from before arriving in Gielinor and tells you about his past. In his last moments, he gives you some of his power and asks you to protect the world from the other gods.
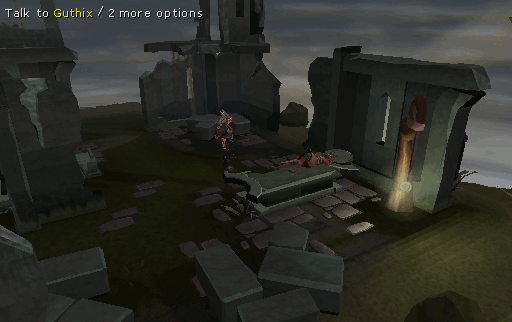 Image last updated: Jul 25, 2016 Update Image?
-
After you are teleported back to the real world, Juna asks what happened and as you are explaining, Saradomin appears and sends the Zarosians away. Once he learns you have been granted the power of Guthix, and that he cannot destroy you, he tells you that you should consider your path wisely, for other gods will be coming soon, then leaves. Juna reaches much the same conclusion, and tells you that you must prepare.
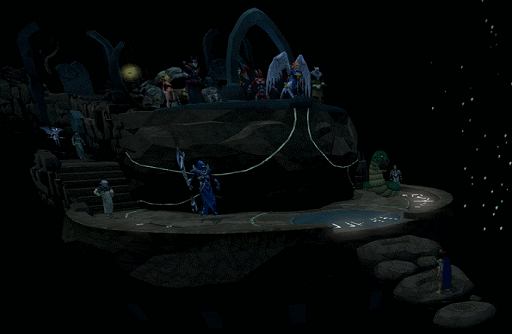 Image last updated: Jul 25, 2016 Update Image?
Congratulations, Quest Complete!
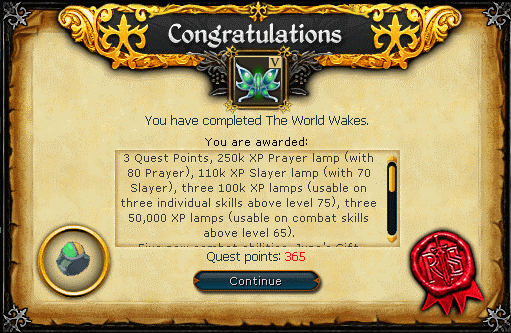 Image last updated: Jul 25, 2016 Update Image?
Additional Rewards:
If you go back into the temple and pay your respects at the monument, you will recieve 100k Prayer experience (requires 90 Prayer). Lighting the five torches around the monument awards 10k Firemaking experience each (requires 74 Firemaking). If you need to destroy your rewards because you do not have the level then you can retrieve them from the high priest.Rewards
250K XP Prayer lamp (with 80 Prayer), 110K XP Slayer XP lamp (with 70 Slayer), 3 100K XP lamps (usable on 75+ skills), 3 50K combat XP lamps (usable on 65+ skills), Balanced Strike ability (with 85 Attack), Sunshine ability (with 85 Magic), Death's Swiftness ability (with 85 Ranged), Natural Instinct ability (with 85 Defence), Guthix's Blessing ability (with 85 Constitution), choice of 3 cosmetic tops, access to a new area, and 2 Treasure Hunter keys.
Those who have completed all the recommended quests will also unlock the World Guardian Title, a Sixth Age Circuit, Juna's/Zilyana's/Azzandra's Gift, access to Guthix's Shrine, access to the Cresbots area and Cresbots as a Slayer target.
Those who have completed all the recommended quests will also unlock the World Guardian Title, a Sixth Age Circuit, Juna's/Zilyana's/Azzandra's Gift, access to Guthix's Shrine, access to the Cresbots area and Cresbots as a Slayer target.
Guide Credits & History
| Writers | kassandra and Rooskii |
|---|---|
| Contributors | Darkblitz, Zidane3838, Amoa123, Javezz, Ikki_Fenixs, sam evenstar, and Melissa |
| First Uploader | Darkblitz |
| Date Added | Feb 26, 2013 |
| Last Updater | Rooskii |
| Last Updated | Jul 25, 2016 |
Guide Feedback
Rate this guide
You can report issues without logging in. Log in to leave ratings and watch pages.
Want to help keep RuneHQ's guides up to date?
We're always looking for knowledgeable players to write, review, and improve our content. Join the team and help thousands of adventurers.