Prisoner of Glouphrie, The
Quest Details
| Difficulty | Master |
|---|---|
| Type | Quest |
| Length | Medium |
| Quest Points | 1 |
| Members | Yes |
Start Point
Beneath the Tree Gnome Village.
Requirements
Skill Requirements
Quest Requirements
Items Needed
None.
Items Acquired During Quest
Ring of dueling.
Walkthrough
-
Head to Tree Gnome Village and go underground (at the dungeon marker on the minimap). Take the northwest path and speak to Golrie, who will introduce you to his mother, Golrana.
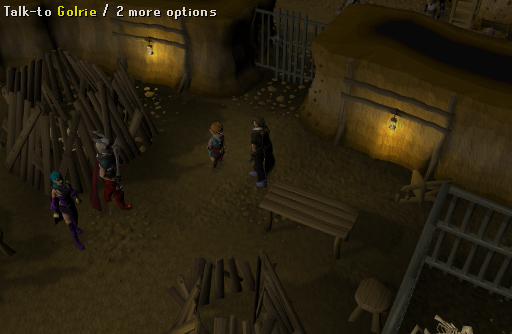 Image last updated: Jul 16, 2018 Update Image?
 -
Golrana will ask you to meet her north of the observatory and south of the lava fields (near the hill giants area). Teleport to Castle Wars and head north till you get to the lava fields. Once there, speak to Golrana to begin your expedition.
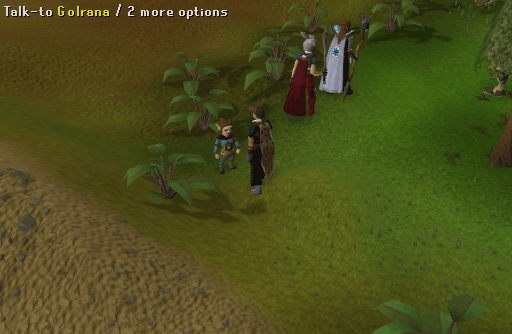 Image last updated: Jul 16, 2018 Update Image?
 -
Start by heading north to a large dead tree. Search it to discover a hidden entrance, then enter it and you will find yourself in a large cave.
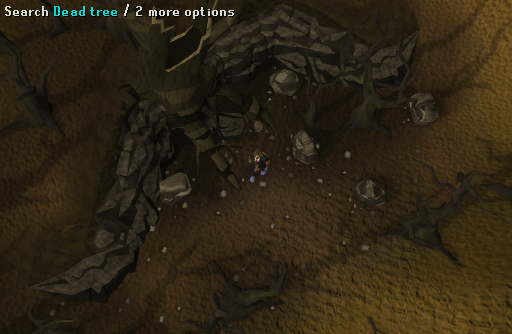 Image last updated: Jul 16, 2018 Update Image?
 -
Along the south wall is a ledge you can investigate. Do so and Golrana will cross the cliff, attaching a rope that will allow you to cross.
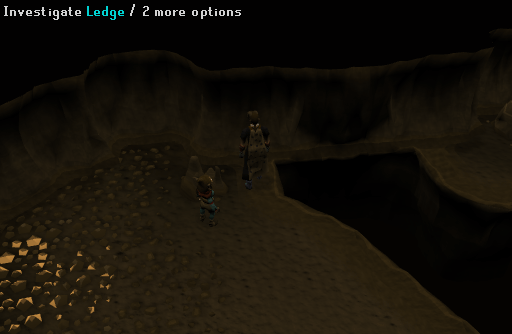 Image last updated: Jul 16, 2018 Update Image?
 -
Once over, run south until you reach several gaps (the shortcut symbol on your minimap). Jump across the gaps to reach the other side.
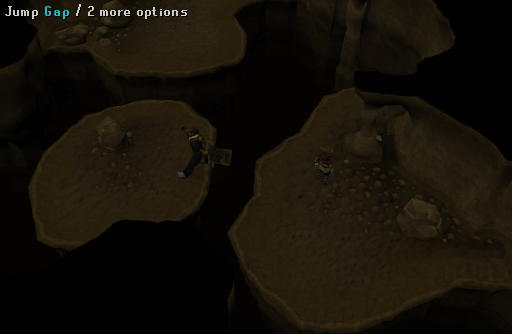 Image last updated: Jul 16, 2018 Update Image?
 -
Continue north until you arrive at a river with stepping stones. Talk to Golrana and she will tell you the last stone is too far away for you to make the final jump. Investigate the crevice on the south wall to discover a path that will allow Golrana to reach the other side. Once across, she will push a stepping stone into the water which you can use to reach the other side.
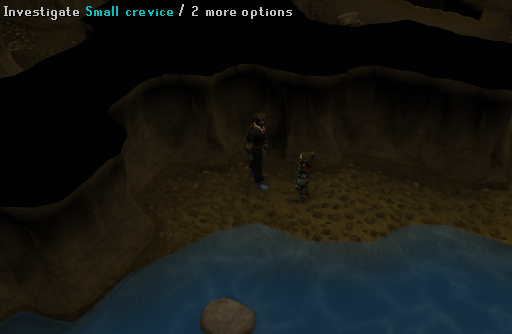 Image last updated: Jul 16, 2018 Update Image?
 -
Follow the tunnel around until you reach another crevice in the southwest corner of the cave. Climb though it and you will arrive east of Lleyta.
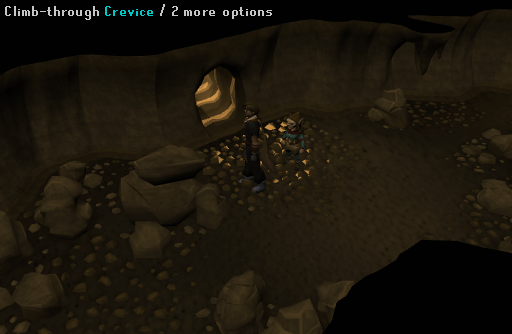 Image last updated: Jul 16, 2018 Update Image?
 -
Head southwest along the path until you see a sturdy tree. Investigate the Sturdy tree to climb down into the city, where you will be greeted by Ilfeen and escorted to Bolrie's Lab.
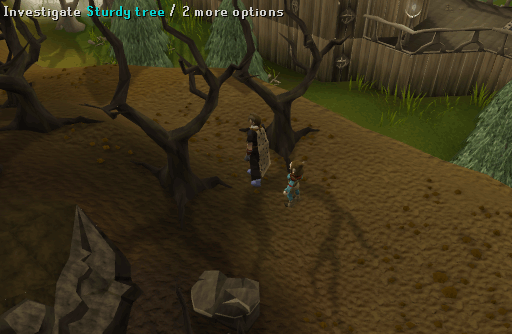 Image last updated: Jul 16, 2018 Update Image?
 -
Upon arriving in Bolrie's Lab, pick up the handwritten book sitting on the nearby crate. Read it to find out that you will need to collect materials within the lab to build an anti-illusion device. Search the crates, shelves, and lamps throughout Bolrie's Lab to obtain the required items. To the northwest is a lectern you can read containing Bolrie's journal, which will trigger two cutscenes illustrating how Bolrie came to know the elves. Once all the materials are collected, you can build the machine on the crate.
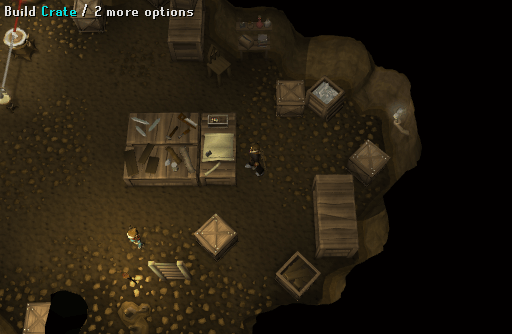 Image last updated: Jul 16, 2018 Update Image?
 -
Next you must calibrate the anti-illusion device. To do this you will need to create coins using the singing bowl worth different values to match the three numbers listed on the machine (these numbers are different for each player, although the coin values are the same for everyone).
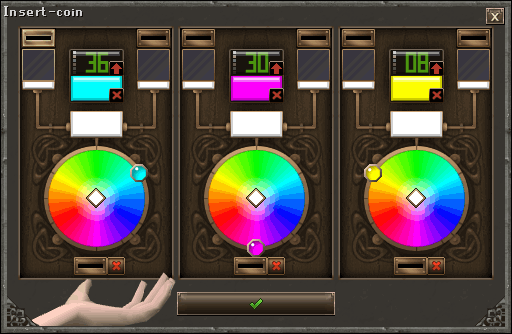 Image last updated: Jul 16, 2018 Update Image?
To make the coins you will need crystal seeds, which can be found in the crate near the singing bowl. It is recommended to only take one seed at a time since all seeds are converted when using the bowl. To change the color, rotate the prism clockwise or counter-clockwise. To change the shape you will need to vary the amount of water within the bowl. For example, an empty bowl creates a circle while a completely full bowl creates a hexagon.
Here is a table of all the coin values:
Color Shape Circle Almond Triangle Square Pentagon Hexagon Red 1 2 3 4 5 6 Orange 2 4 6 8 10 12 Yellow 3 6 9 12 15 18 Green 4 8 12 16 20 24 Blue 5 10 15 20 25 30 Indigo 6 12 18 24 30 36 Violet 7 14 21 28 35 42
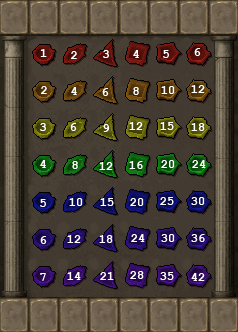 Image last updated: Jul 16, 2018 Update Image?
Note: In addition to the proper number, the two coins need to achieve a target color as well - Cyan, Magenta, and Yellow. Each shape is weighted differently. A Circle is worth 1, an Almond is worth 2, a Triangle is worth 3, a Square is worth 4, a Pentagon is worth 5, and a Hexagon is worth 6. Therefore, if something needs to be "1 part to 2 parts," you will need a Circle + Almond, an Almond + Square, or a Triangle + Hexagon, for example.
Target Color Ratio Cyan Equal parts green and blue Magenta Equal parts red and blue or
3 parts red to 4 parts indigo or
1 part red to 2 parts violetYellow Equal parts red and green or
1 part green to 2 parts orange or
2 of any yellow
Here are some examples:Shape % Bowl Full Circle Empty Almond 20% Triangle 40% Square 60% Pentagon 80% Hexagon 100%
36 Cyan = Green Square (16) + Blue Square (20)
30 Magenta = Blue Pentagon (25) + Red Pentagon (5)
8 Yellow = Green Circle (4) + Orange Almond (4)
54 Cyan = Blue Hexagon (30) + Green Hexagon (24)
30 Magenta = Blue Pentagon (25) + Red Pentagon (5)
16 Yellow = Green Almond (8) + Orange Square (8) - Once successfully calibrated, head up the ladder and speak to Golrana at the Lletya bank to return to the sturdy tree. Next head east to uncover an air vent in the side of a rock ledge. A cutscene will ensue showing a gnome looking similar to Glouphrie training a number of other gnomes capable of turning themselves invisible. Once the cut-scene is over you will slip and fall out the bottom of the air duct. Walk a few steps south and you will discover a group of mining tortoises digging into the walls.
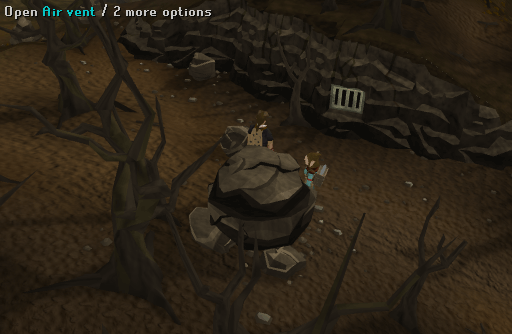 Image last updated: Jul 16, 2018 Update Image?
 - Head up the stairs, then move northeast along the wall, avoiding detection, to the watcher in the northeast corner. Rotate the watcher to face the wall, then open the nearby metal door and enter the jail.
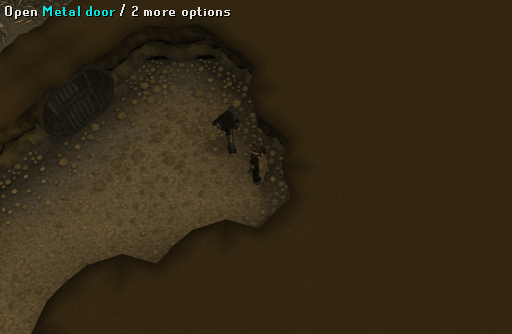 Image last updated: Jul 16, 2018 Update Image?
 -
Tell the terrorbird guarding the cell that you are Glouphrie and he will leave, allowing you access. Pick the cell door to find Bolrie, who will not believe your story and question you to prove yourself.
Q: The elf he mentioned in his letter:
A: Ilfeen
Q: The gnome the letter was addressed to:
A: Gena
Q: The number of possible combinations with his machine:
A: 42
Q: What was on his picture at his wall in his cave:
A: The Grand Tree - After convincing him, head back past the stairs and into the southwest room where the terrorbird operator is standing. A cutscene will occur, after which you have to run back north to meet Bolrie. Another cutscene will occur, during which you will climb up to the surface. Once on the surface push the large nearby boulder in front of the vent to prevent the gnomes from chasing you. After another cut-scene, talk to Golrana again and she will signal gliders to take you to Tree Gnome Village.
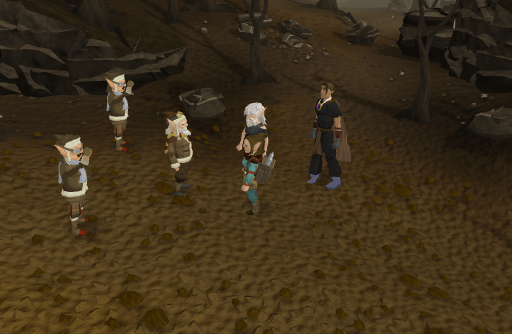 Image last updated: Jul 16, 2018 Update Image?
 - Speak to Golrana and watch the cutscene, after which you will be rewarded and thanked for your help.
Congratulations! Quest Complete!
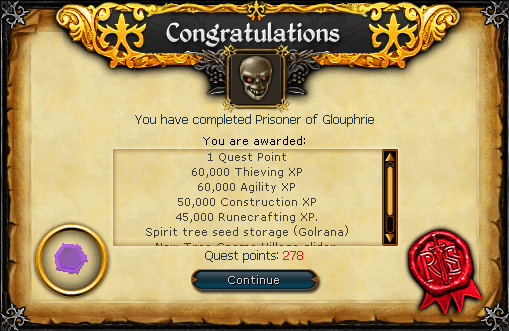 Image last updated: Jul 16, 2018 Update Image?
Rewards
45K Runecrafting XP, 50K Construction XP, 60K Agility XP, 60K Thieving XP, a new glider at the Tree Gnome Village, Spirit Tree Seed storage (Golrana), ability to plant up to two spirit trees at a time with 86 Farming, fast access to Lletya, and 2 free keys for Treasure Hunter.
Guide Credits & History
| Writers | Haevens Vibe and Im4eversmart |
|---|---|
| Contributors | Mikker, Ceielo, Nitharel, DarkAdvisor, DarkNovaGamer, Jarkur, and Funk It Down |
| First Uploader | Im4eversmart |
| Date Added | Feb 10, 2011 |
| Last Updater | DRAVAN |
| Last Updated | Jul 16, 2018 |
Guide Feedback
Rate this guide
You can report issues without logging in. Log in to leave ratings and watch pages.
Want to help keep RuneHQ's guides up to date?
We're always looking for knowledgeable players to write, review, and improve our content. Join the team and help thousands of adventurers.