Dead And Buried
Quest Details
| Difficulty | Novice |
|---|---|
| Type | Quest |
| Length | Medium |
| Quest Points | 1 |
| Members | Yes |
Start Point
Fort Forinthry
Requirements
Quest Requirements
Items Needed
| 6 $ilnkfull32048 | 14 $ilnkfull32102 |
Walkthrough
-
Talk to The Raptor by the Fort Forinthry Guardhouse about Dead and Buried. Accept the quest when promped. Partway through your conversation you will be interrupted by a horn from the Town Hall. Go to the Town Hall and enter the portal in the doorway to continue the quest.
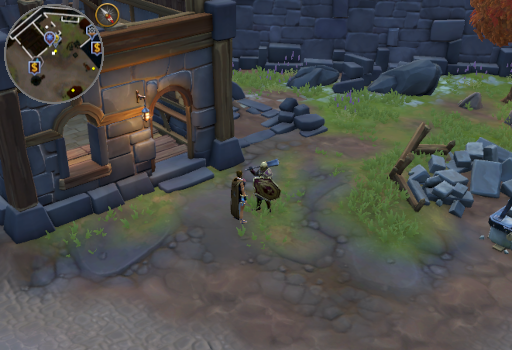 Image last updated: Nov 25, 2023 Update Image?
-
Talk to $plnkfull3552 in the North East corner of the Town Hall. Your conversation will be cut short by the $plnkfull3381 announcing, with far more excitement than should be warranted, that the King and Queen of Varrock are gifting you a painting of them. You can pick any of the available chat options to continue. $plnkfull3551 will ask to talk to you about the frequent zombie attacks. She wants a proper captain who can train the fort guards and she has a candidate for you to interview.
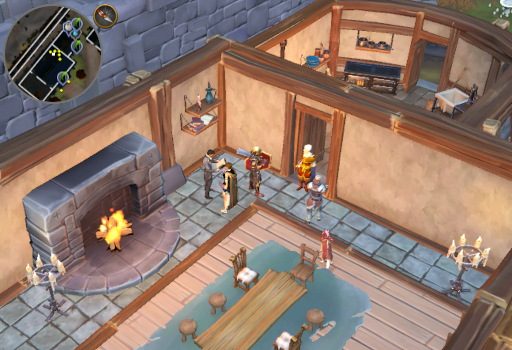 Image last updated: Nov 25, 2023 Update Image?
-
Sofia, the candidate, will sit across from you and you can ask as many of the provided questions as you like. To move on, either exhaust all the questions or choose to conclude the interview once you are presented with the option. Sofia will accept the position as captain and will go to consult $plnkfull903 about drawing up plans for a Ranger's Workroom.
 Image last updated: Nov 25, 2023 Update Image?
-
If you have constructed the Eastern border wall, then you can skip this step. Otherwise you will need to jump through some hoops before you can work on the Ranger's Workroom.
-
Talk to $plnkfull903 by the Workshop. He will tell you that a stranger has been by. Apparently they asked to see you and is painfully fixated on the tree outside the Chapel.
-
Make your way over to the Chapel and talk to ??? on the South side, just under the tree. He will tell you that $plnkfull3552 had reached out to him about the area to the East of the Fort. According to him, the area would be perfect for cultivating trees which would be of great use with all the upgrades you have been making on the Fort. You will agree to look into the idea and he will then introduce himself as Oak. Definitely not a convenient naming choice.
-
Return to $plnkfull903 by the Workshop and have him draw up some plans for Eastern fortifications. Use the blueprint table and choose to build the Eastern border wall, under the fortifications section. This will require 6 $ilnkfull32048 and 6 basic $ilnkfull616.
-
Exit the fort through the South gate and walk around the East wall until you reach the construction hotspots. Build there until you have completed the Eastern border wall. Note that at this point you CAN choose to finish building the Grove, but this is not required to complete/progress the quest.
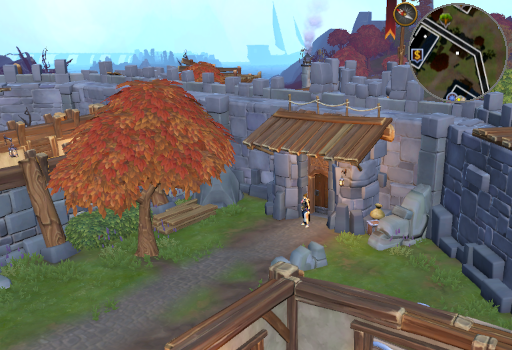 Image last updated: Nov 25, 2023 Update Image?
-
Talk to $plnkfull903 by the Workshop. He will tell you that a stranger has been by. Apparently they asked to see you and is painfully fixated on the tree outside the Chapel.
-
Talk to $plnkfull903 by the Workshop about the quest. He will be disappointed in the lack of beer garden, but will tell you that he's already drawn up plans for the Ranger's Workroom. Use the blueprint table to start building the Ranger's Workroom tier 1. This will require 14 $ilnkfull32102s and 6 $ilnkfull32048.
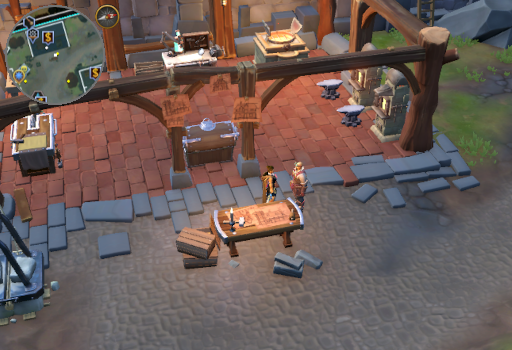 Image last updated: Nov 25, 2023 Update Image?
-
Go to the construction hotspots West of the Guardhouse and build until you have completed the Ranger's Workroom.
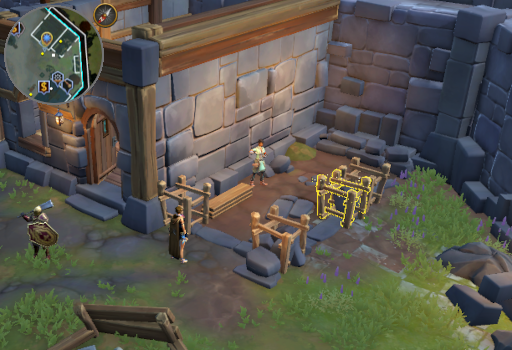 Image last updated: Nov 25, 2023 Update Image?
-
Talk to Guard captain Sofia. She'll confirm that everything is in working order and they can comfortably (and literally) hold down the fort while you and The Raptor go investigate.
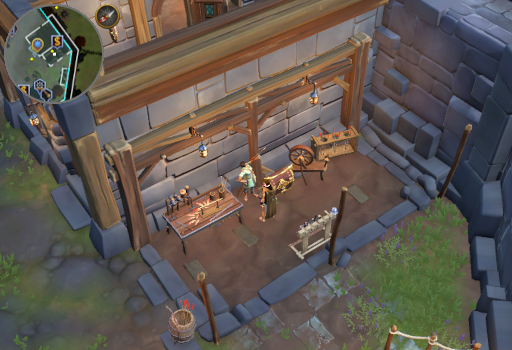 Image last updated: Nov 25, 2023 Update Image?
-
Head slightly North and talk to The Raptor about the quest again. They will tell you to meet them in the crypt North of the fort.
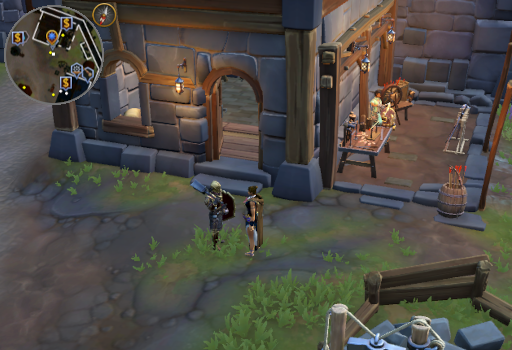 Image last updated: Nov 25, 2023 Update Image?
-
Make sure you are geared up for combat against Melee enemies, scaled to your level, and have 2 free inventory spaces. Once prepared, pass through the fort's Northern gate. Continue North until you reach the crypt and enter the quest portal outside of it.
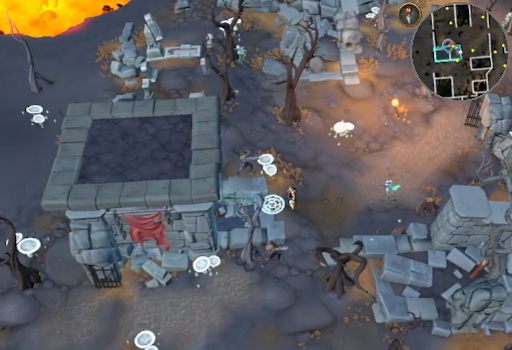 Image last updated: Nov 25, 2023 Update Image?
-
Talk to The Raptor or attempt to fight the Risen ghosts and they'll tell you to find some building materials to make a bridge across the lava.
 Image last updated: Nov 25, 2023 Update Image?
-
Follow the Northern path to the West and into another abandoned chamber. Search all 6 of the spooky holes, marked by red dots on the minimap. Upon searching the final hole, 3 Material ghouls will rise and attack you. Kill all 3 and you will have the materials you need.
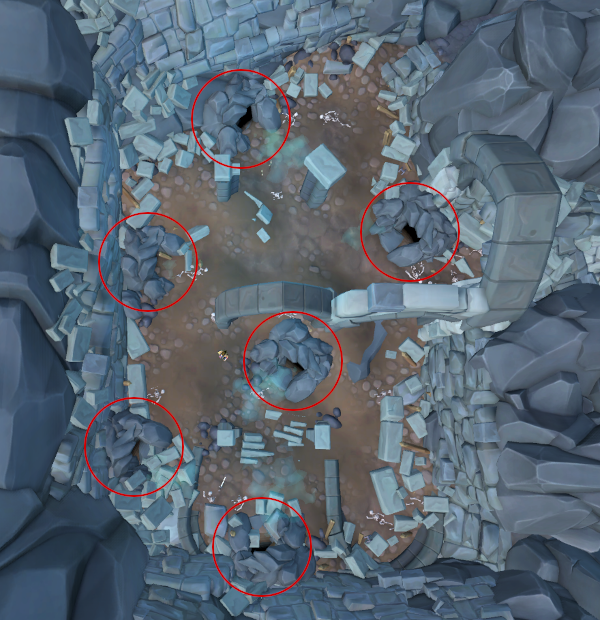 Image last updated: Nov 25, 2023 Update Image?
-
Follow the Southern path back to where The Raptor is fighting the and build at the construction hotspot to make a bridge across the lava.
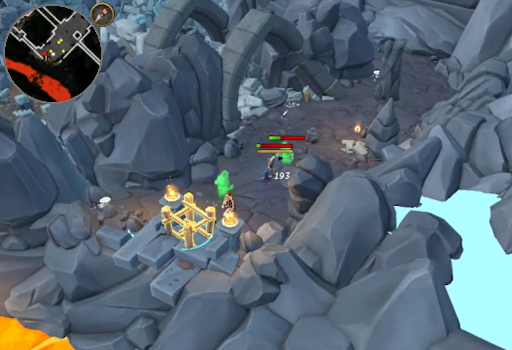 Image last updated: Nov 25, 2023 Update Image?
-
Cross the bridge to the South and investigate the ancient door on the other side. Something will clunk into place as you do. Push one of the pillars, then click The Raptor to "Switch to" them. This function behaves like it does in the Fremennik Sagas. Have The Raptor push the other pillar then search the ancient door to obtain a $ilnkfull32178.
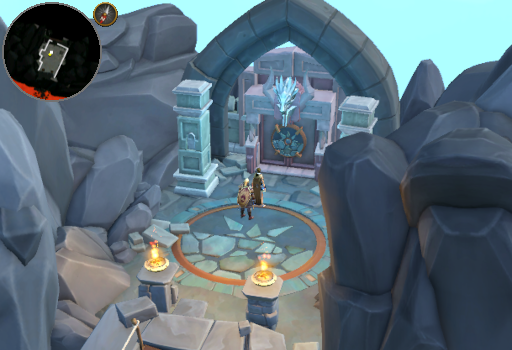 Image last updated: Nov 25, 2023 Update Image?
-
Talk to The Raptor about the object. They will direct you to talk with $plnkfull126.
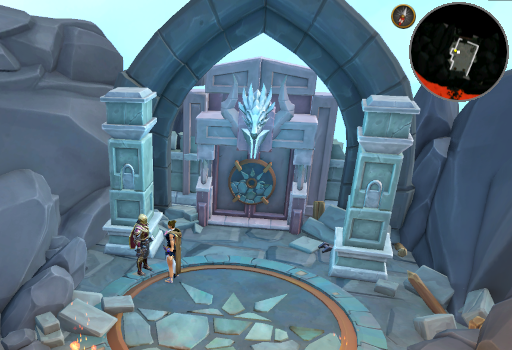 Image last updated: Nov 25, 2023 Update Image?
-
Make your way to the Varrock Palace and enter the quest portal outside the library. Talk to $plnkfull126 and he'll tell you that the object inspires and records dreams. In Raptor's impatience, they will trigger a trap on the device that traps them in a maze of their worst nightmares. $plnkfull126 will give you a Potion of dreamless sleep (Dead and Buried) to go after them.
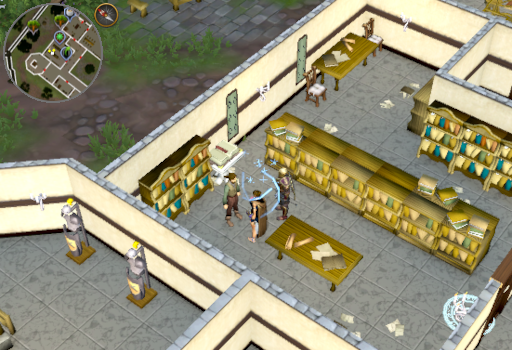 Image last updated: Nov 25, 2023 Update Image?
-
Drink the potion and $plnkfull126 will direct you to activate the $ilnkfull32178. Do so and choose to enter The Raptor's dream when prompted. You will immediately find and engage The Raptor in conversation. While in the dreamworld, you will be given an extra action button that allows you to switch between controlling The Raptor and yourself, but you can do so by clicking on them as well. The extra action button is important because sometimes you might need to switch when the other character is out of click range.
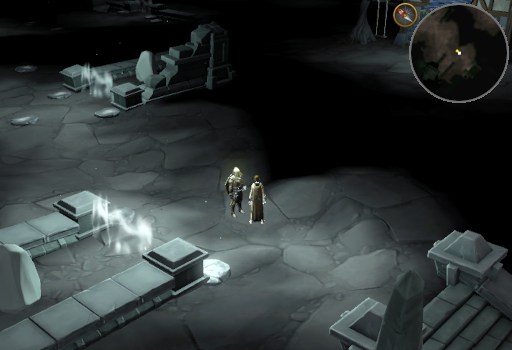 Image last updated: Nov 25, 2023 Update Image?
-
Puzzle 1:
It is now time to solve a series of pressure plate puzzles using yourself, The Raptor, and nearby boulders. For the puzzles in this dreamworld, keep in mind that when The Raptor pushes a boulder it moves 5 tiles, but when you push a boulder, it moves a single tile. Pulling a boulder moves it 1 tile regardless of who does it.
- Stand on the Southern pressure plate just West of where you talked to The Raptor.
- Switch to them and have them stand on the Northern pressure plate. This will bring down the barrier preventing you from reaching the boulder on the other side, which from here on will be referred to as boulder1.
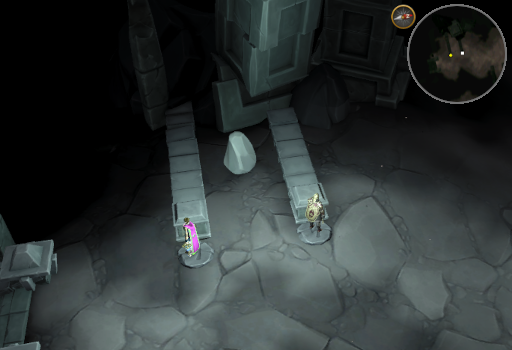 Image last updated: Nov 25, 2023 Update Image?
-
Puzzle 2:
- Have The Raptor stand on the West side of boulder1 and push it once.
- Next, have them stand to the South of boulder1 and push it 3 times.
- Finally, have them stand West of boulder1 and push it once. This should place it directly on the North pressure plate by the next boulder to which you need access, which from here on will be referred to as boulder2.
- Stand on one of the other pressure plates by the next boulder.
- Have The Raptor stand on the final one to lower the barrier by boulder2.
 Image last updated: Nov 25, 2023 Update Image?
-
Puzzle 3:
- Have The Raptor stand on the East side of boulder2 and push it once.
- Stand on the South side of boulder2 and push it once.
- Finally, stand on the South side of boulder1 and push it once. This should place the boulders close to their target destinations.
- Switch back to yourself and push boulder2 North 3 times to place it on the third pressure plate from the left
- Push boulder1 East once to place it on the fourth pressure plate.
- Stand on one of the other pressure plates, then have The Raptor stand on the last one to lower the barrier.
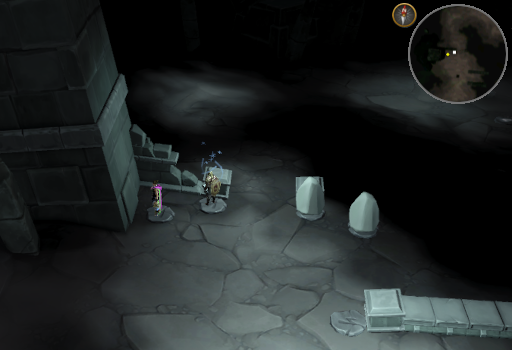 Image last updated: Nov 25, 2023 Update Image?
-
Puzzle 4:
For the next pressure plate section, new boulders will appear when you stand on the Western most pressure plates. Unfortunately, they will disappear if they have not been moved and you step off the plate.
- Place yourself on either the Northern plate or the Southern one and have The Raptor push the boulder from the West.
- This will slide the boulder in place and allow you to move to the other plate and repeat the process.
- Once the 2 boulders have been placed, put yourself and The Raptor on the remaining to pressure plates.
 Image last updated: Nov 25, 2023 Update Image?
-
Puzzle 5:
- Stand yourself on the North West pressure plate to make a boulder appear on the other side of the stone fence.
- Have The Raptor push the boulder from the East once, the North once, then from the West once.
- Place The Raptor on one of the the Northernmost pressure plates.
- Switch to yourself and push the boulder onto the pressure plate you came from before placing yourself on the final pressure plate.
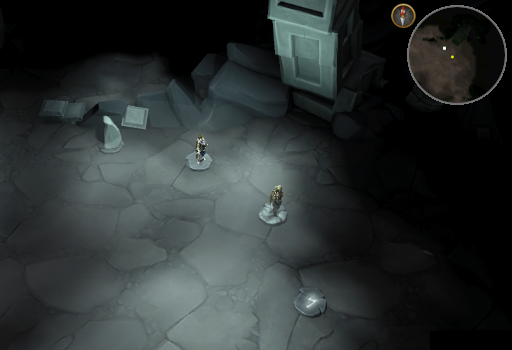 Image last updated: Nov 25, 2023 Update Image?
-
Puzzle 6:
- Use whomever is on the Easternmost plate to begin moving the newest boulder, to the South, onto the final pressure plate. Once it has been pushed at least once, you can swap out your pusher as needed to move it into place.
- With both boulders ready, stand on the 2 remaining plates.
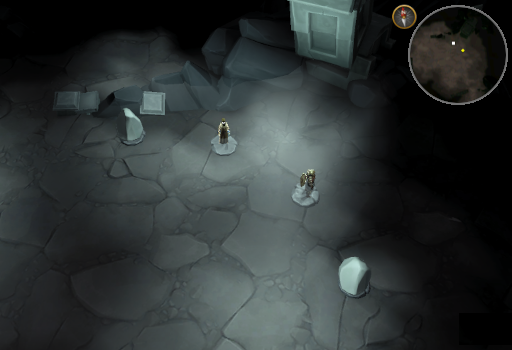 Image last updated: Nov 25, 2023 Update Image?
-
Go North East a short distance, prepare for combat, and interact with the dim light. 3 Nightmares will appear. Fight them until they are low on hitpoints then switch to the The Raptor and she will finish them off. A pillar of light will appear.
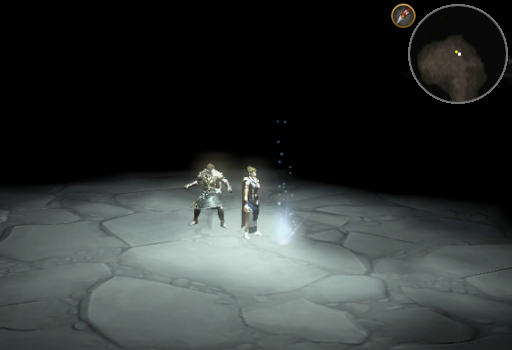 Image last updated: Nov 25, 2023 Update Image?
-
Interact with the pillar of light and $plnkfull125 will appear. Talk to him until the dialog ends. He will catch fire and crumble to ashes.
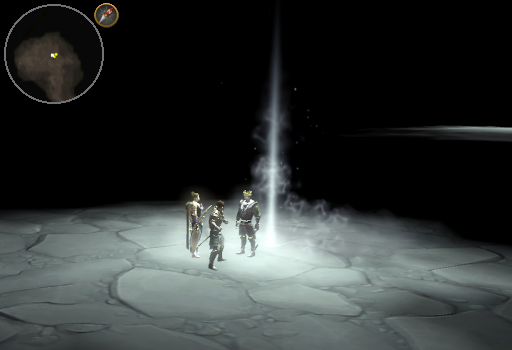 Image last updated: Nov 25, 2023 Update Image?
-
Follow the path East until you reach another patch of dim light. Prepare for combat then interact with it. 4 more Nightmares will appear. Like the last ones, you can do lots of damage, but you must switch to The Raptor to finish them off. Another pillar of light will appear.
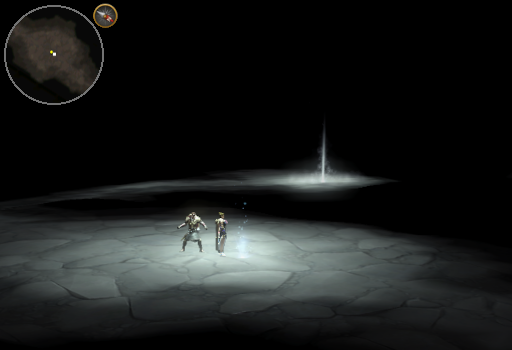 Image last updated: Nov 25, 2023 Update Image?
-
Interact with the pillar of light and $plnkfull3555 will appear. Talk to her. At the end of the dialog, she will appear to die from poison.
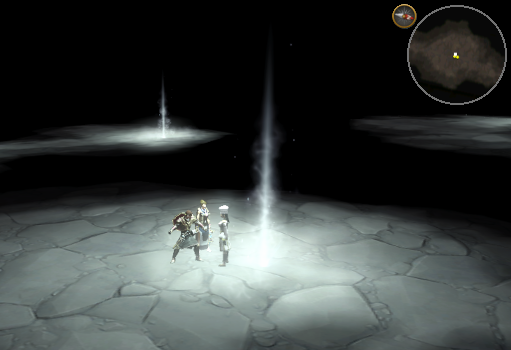 Image last updated: Nov 25, 2023 Update Image?
-
Follow the path North West until you reach a final patch of dim light. Prepare for combat a final time. Interact with the dim light and 5 Nightmares will appear. Like the last ones, you can do lots of damage, but you must switch to The Raptor to finish them off. A final pillar of light will appear.
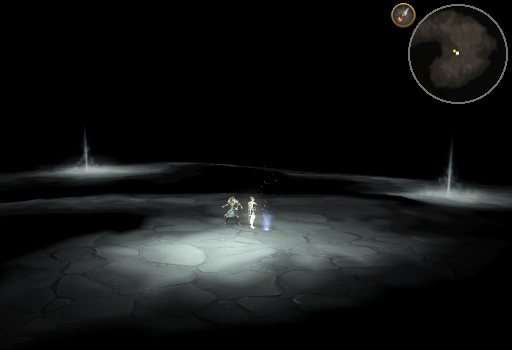 Image last updated: Nov 25, 2023 Update Image?
-
Interact with the pillar of light and The Raptor will appear. Partway through the conversation a wall of ancient writings and $plnkfull2891 will appear.
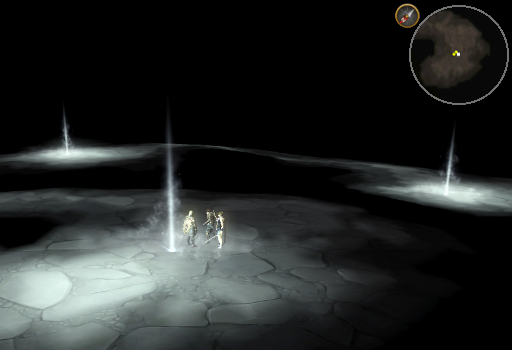 Image last updated: Nov 25, 2023 Update Image?
-
Read the ancient writings and $plnkfull2891 will disappear. You struggle with with the dragonkin symbols, but will make out the following words: Draekeun, Vorkath, Skek Pthen. It takes a moment, but you will translate this to Dragon, Vorkath (it's a name), and Death Sorcery (aka, Necromancy). You will have a searing headache and wake up in the library with The Raptor. Finish the dialog.
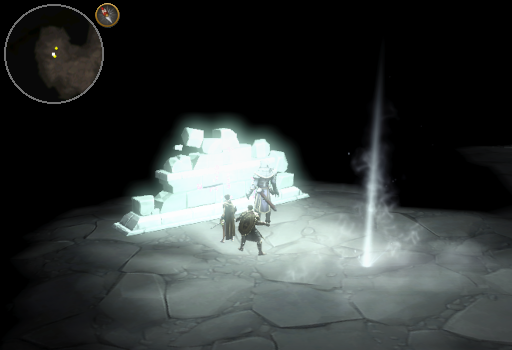 Image last updated: Nov 25, 2023 Update Image?
-
Make your way back to the crypt North of Fort Forinthry and enter the quest portal to continue. The guards you placed at the crypt will be dead at the hands of a necromancer.
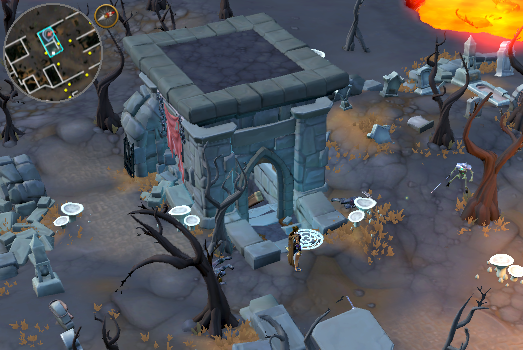 Image last updated: Nov 25, 2023 Update Image?
-
Continue into the crypt and cross the bridge to the door. You will find that it has already been opened. Enter it.
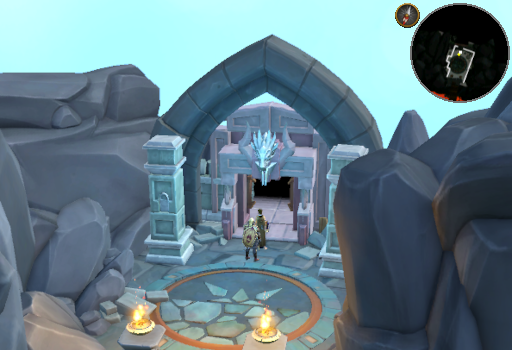 Image last updated: Nov 25, 2023 Update Image?
-
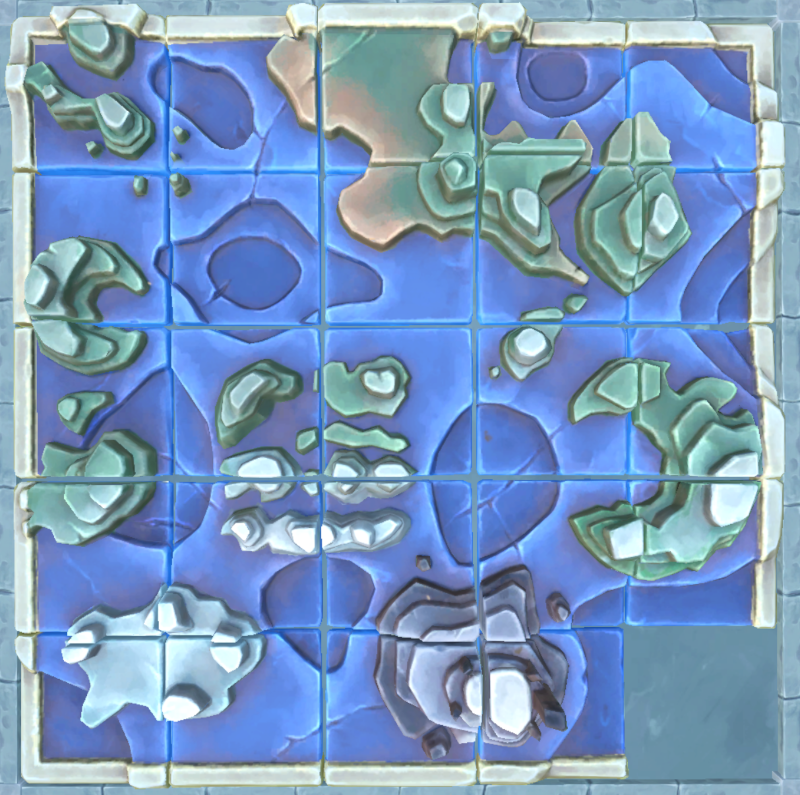
Follow the passage to the central room and investigate the table. You will realize it's a map that has been taken apart.
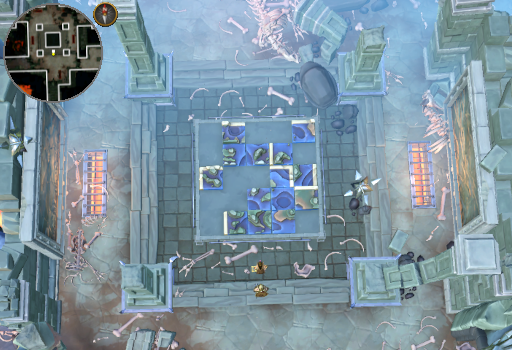 Image last updated: Nov 25, 2023 Update Image?
-
You will now need to kill Fetid zombies, found in the 4 corner passages of the dungeon, in order to obtain 10 Map piece (Dead and Buried). Note that you can kill respawned zombies and obtain more pieces. You do not HAVE to kill all of them.
 Image last updated: Nov 25, 2023 Update Image?
-
Deposit the Map pieces at the map table then use the "slide" option on the pieces to solve the slider puzzle. For help solving the slider puzzle, see the appropriate section of our Treasure Trails guide. Before you continue, people who care about the story should examine the murals on the East and West walls.
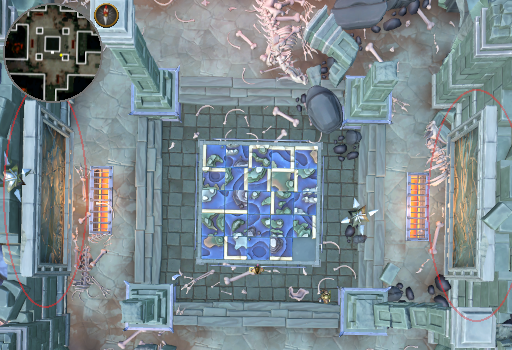 Image last updated: Nov 25, 2023 Update Image?
Click the above image to see a solved version puzzle!
-
Return to Fort Forinthry and talk to $plnkfull3551 in the Command Centre. Talk to her about the quest and she'll tell you the Fremennik refer to the uncharted island on that map as Ungael. It's supposedly home to a powerful dragon more dangerous than $mlnkfull100, which the murals in the room attest to.
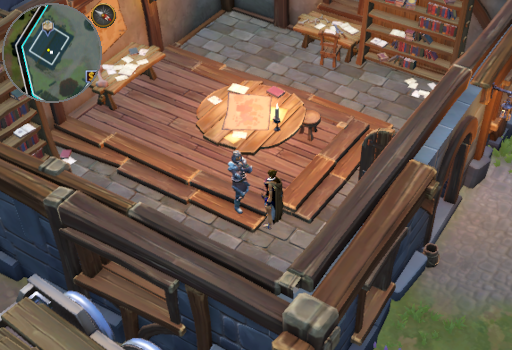 Image last updated: Nov 25, 2023 Update Image?
-
Talk to The Raptor by the Guardhouse about the quest to receive your rewards.
 Image last updated: Nov 25, 2023 Update Image?
Congratulations, Quest Complete!
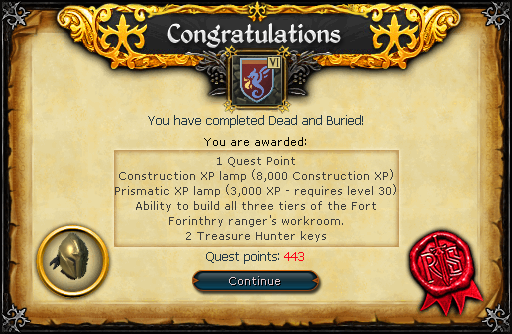
Image last updated: Nov 25, 2023 Update Image?
Rewards
Construction XP Lamp (8k xp); Prismatic XP Lamp (3k xp, requires level 30 in the chosen skill); Ability to build all 3 tiers of the Fort Forinthry Ranger's Workroom
Guide Credits & History
| Writers | 3ter 1 and ChathMurrpau |
|---|---|
| First Uploader | Chath |
| Date Added | Oct 01, 2023 |
| Last Updater | Chath |
| Last Updated | Nov 25, 2023 |
Guide Feedback
Rate this guide
You can report issues without logging in. Log in to leave ratings and watch pages.
Want to help keep RuneHQ's guides up to date?
We're always looking for knowledgeable players to write, review, and improve our content. Join the team and help thousands of adventurers.