Heartstealer
Quest Details
| Difficulty | Novice |
|---|---|
| Type | Quest |
| Length | Short-Medium |
| Quest Points | 1 |
| Members | No |
Start Point
2nd Floor of the house North of Edgeville bank.
Walkthrough
-
Talking to the couple you will learn that Caelyn seems to be in a bit of a thieving rut - she isn't having fun at it anymore. At this point, Annette will need to leave in order to sell Duke Horacio's solid gold lawn gnome. Once she leaves, Caelyn will ask for your help as she has been trying to get a good wedding anniversary present, but struggling to find anything good enough and she's almost out of time. She thinks that the heart-shaped ruby that was recently donated to the Varrock Museum might do and wants your help getting ahold of it. Accept the quest and prepare to get heisting!
 Image last updated: May 04, 2022 Update Image?
-
Caelyn says that both of you will need disguises, plans for the gala (which is tonight), and smoke bombs. Note that these tasks can be completed in any order, but we will follow typical RuneHQ fashion and go alphabetically.
-
Disguises - "Let's get the disguises" - Tell Caelyn that you are going to get disguises and she will give you money to go buy them - these are not an item, nor does money get added to your currency pouch. You are welcome to continue the dialog or to simply go to $plnkfull867's shop. When ready, head over to $plnkfull867's clothing store, just South of Varrock's town square, and talk to her about the quest. She will be very grumpy about helping Caelyn at all, but she will begrudgingly provide you with $ilnkfull31819. Take them back to Caelyn to complete this task.
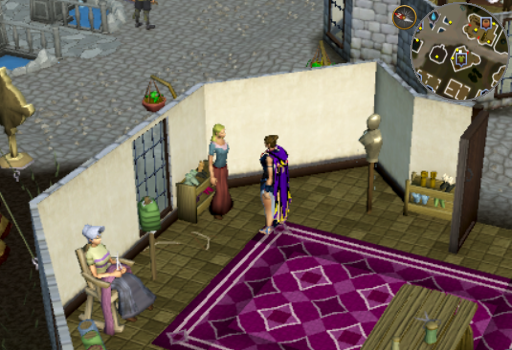 Image last updated: May 04, 2022 Update Image?
-
Gala Plans - "Let's case the joint" - Caelyn will suggest that you steal them from $plnkfull585 and make a copy. She will give you her 'specialist tools', which are really just $ilnkfull31820, in order to do so. Go to the Varrock Museum and pickpocket $plnkfull585 to replace your 'specialist tools' with $ilnkfull31821. He will catch you making the copy and you can either lie to him or tell him that Caelyn put you up to this - your choice will not affect the outcome and you will not mention the interaction to anyone. Return to Caelyn and give her the plans to complete this task.
 Image last updated: May 04, 2022 Update Image?
-
Smoke bombs - "Let's create some Smoke bombs" - Caelyn will tell you that she has all the necessary materials and tools in the room. You will be put into an instanced version of the room, given $ilnkfull31822, and she will give you instructions. Once you tell her you are ready to begin, you will need to act fast. Each time she gives you an instruction you will have to interact with something in the room. She will give a total of 10 instructions in succession and completing them all will finish the task. Failure to do so will result in having to start over. Each instruction has a corresponding object in the room with which you must interact, detailed in the table below, and the order is different for every player.
Once you have completed the $ilnkfull31823, continue talking to Caelyn to complete the task.Direction Item They aren't smelly enough yet. Add some fishy odour! Barrel of fish Those bombs aren't explosive enough. Stuff some extra powder in! Barrel of powder The mechanisms need adjusting. Throw in some extra parts! Crate of parts Something isn't right... Give them a bash! Workbench
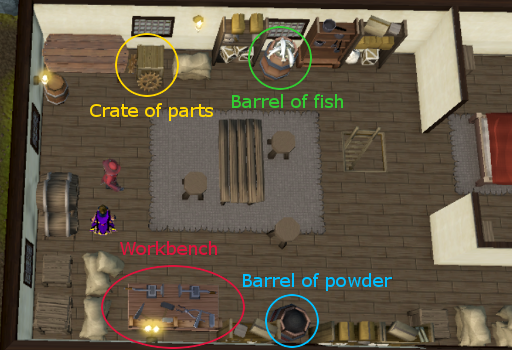 Image last updated: May 04, 2022 Update Image?
-
Disguises - "Let's get the disguises" - Tell Caelyn that you are going to get disguises and she will give you money to go buy them - these are not an item, nor does money get added to your currency pouch. You are welcome to continue the dialog or to simply go to $plnkfull867's shop. When ready, head over to $plnkfull867's clothing store, just South of Varrock's town square, and talk to her about the quest. She will be very grumpy about helping Caelyn at all, but she will begrudgingly provide you with $ilnkfull31819. Take them back to Caelyn to complete this task.
-
With all the prep work done, it's heist time. She will tell you to meet her outside the Varrock Museum. Talk to Caelyn and she will admit she is a little nervous, you can choose to give her a pep talk if you want - your decision will not affect anything. She will then confirm if you are ready and give you a $ilnkfull31824. Equip it and talk to her again. Once more you will be asked if you are ready, say yes to start the heist. If at any point you leave the heist before it is finished, return to Caelyn outside the Varrock Museum and talk to her to pick up where you left off.
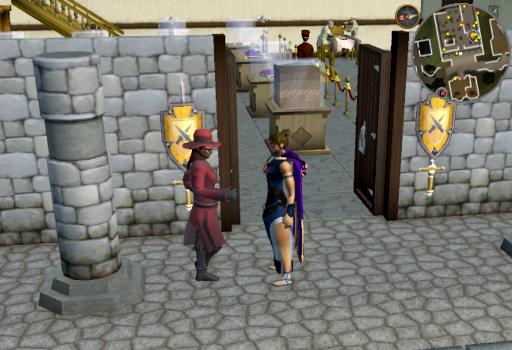 Image last updated: May 04, 2022 Update Image?
-
After some brief dialogue with Caelyn, you will be approached by a Masked Woman, who if you have been paying attention, is clearly Annette wearing a similar mask to yours. She will make it clear that she knows who you are but won't give it away... for now mwahaha. Continue talking to Caelyn and she will direct you to the basement to steal the ruby. However, trying to go down the stairs will be stopped by a museum guard and Caelyn will say that you need a diversion.
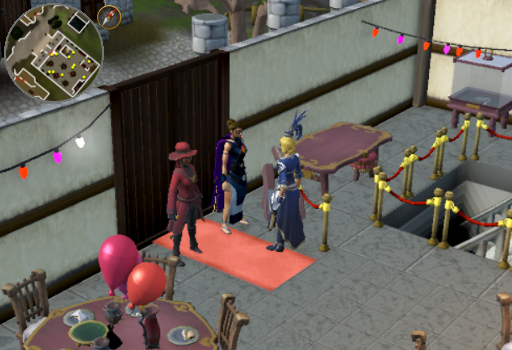 Image last updated: May 04, 2022 Update Image?
-
Head up the stairs in the North East corner of the building and talk to the $plnkfull860, found in the South East area. He will complain about the drink limits and you will offer to get him more drink tokens in exchange for a distraction. He will agree and request 4. Getting the drink tokens is fairly easy and the order is irrelevant after you get one from a bartender.
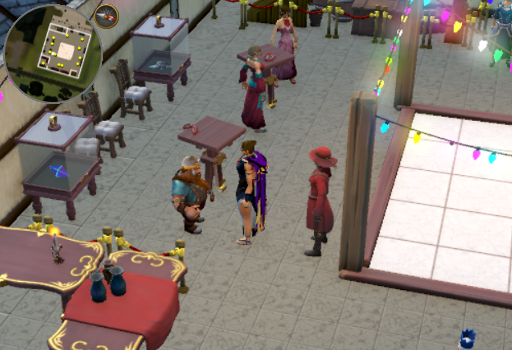 Image last updated: May 04, 2022 Update Image?
-
A - Get your first drink token by talking to the bartender upstairs or downstairs. While each of you will receive a token, Caelyn will use hers almost immediately so you will be left with only 1 token.
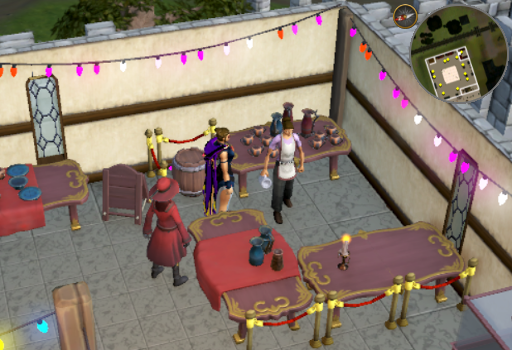 Image last updated: May 04, 2022 Update Image?
-
B - Get another drink token by pickpocketting one of the attendees, upstairs or downstairs, it doesn't matter. Despite there being many attendees, you can only obtain one drink token in this manner. You also cannot obtain a token this way unless you have already talked to the bartender.
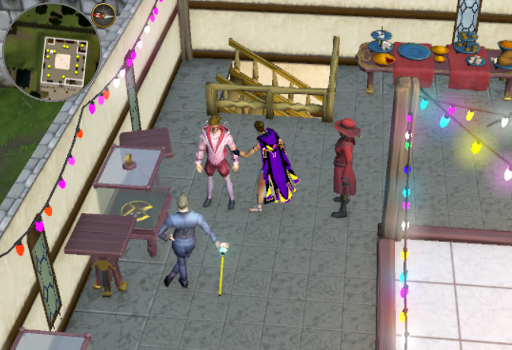 Image last updated: May 04, 2022 Update Image?
-
C - Talk to the Masked Woman to obtain another drink token by engaging in a dance battle. One cutscene later and you will have another token.
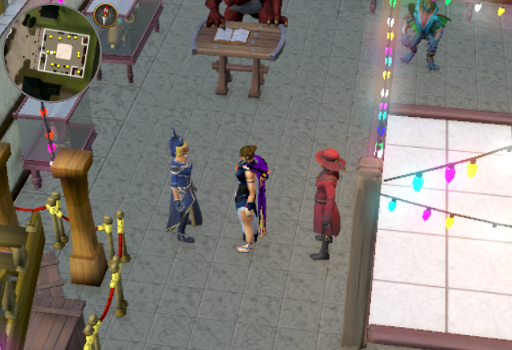 Image last updated: May 04, 2022 Update Image?
-
D - $plnkfull1212 will supply you with a drink token, but only if you can get him a cheese platter. Once he has informed you of this, searching the crate in the bartender's enclosure downstairs will give you a cheese platter. Return to $plnkfull1212 upstairs and exchange the platter for his token by talking to him again.
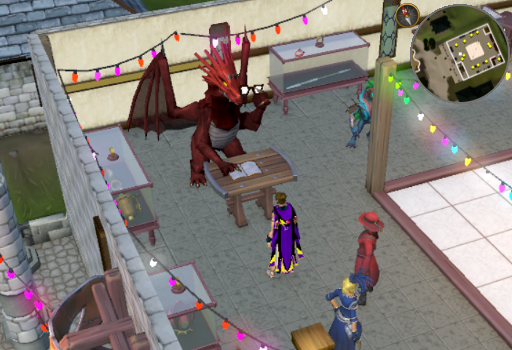 Image last updated: May 04, 2022 Update Image?
-
A - Get your first drink token by talking to the bartender upstairs or downstairs. While each of you will receive a token, Caelyn will use hers almost immediately so you will be left with only 1 token.
-
Return to the Drunken Dwarf and you will give him the drink tokens. When he asks you if you are ready for the distraction, tell him to start and enjoy the chaos that ensues. When the cutscene ends, you will be on the bottom floor with Caelyn and no one else will be present to stop you going into the basement.
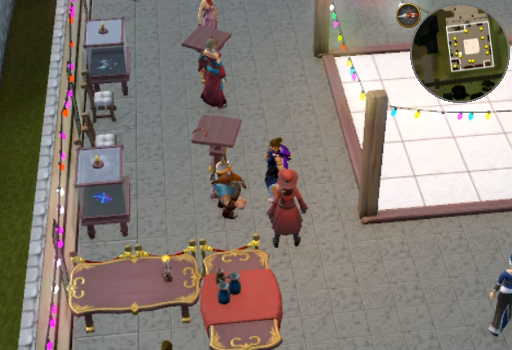 Image last updated: May 04, 2022 Update Image?
-
Head down to the basement and Caelyn will point out the ruby on the South side of the chamber, which is being protected by some kind of barrier. The barrier is powered by three sources- one on the West side, one on the North, and one on the East. Each of those sources is protected by a patrolling group of museum guards that you must sneak past.
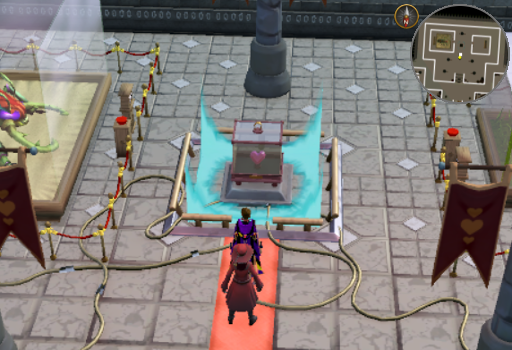 Image last updated: May 04, 2022 Update Image?
-
The guards do not have particularly good lines of sight, so you can easily avoid them by keeping obstacles between them and you. The map below details the walking patterns of the guards and more clearly defines what terrain is impassible (those are the big black boxes). The levers for the power sources can be pulled in any order, but we will detail them West to East. If you get caught after having pulled a lever, don't worry, none of the levers are reset. As a final note, the guards will not catch you if Caelyn is in their line of sight but you are not. Apparently they just expect her to turn up in unexpected places???
 Image last updated: May 04, 2022 Update Image?
-
With the barriers surrounding it disabled, you can now steal the ruby. Try to open the display case and Caelyn will carve a hole in it while you watch for guards. Take the ruby from the case once this is done. It will turn out to be a fake. What a twist! Annette will appear and explain that she arranged the donation to get Caelyn out of her rut and enjoy her work again. Happy anniversary. Unfortunately, you won't be leaving because the curator arrives, flanked by two museum guards. Oh wait, no, you're fine. You have $ilnkfull31823. Poof.
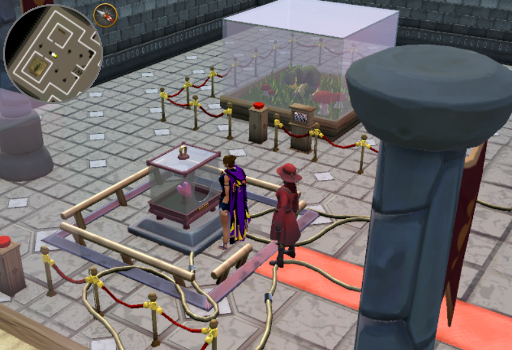 Image last updated: May 04, 2022 Update Image?
-
You will reappear back in the home of the Kadaans and, after a brief but amusing conversation, you will receive your reward.
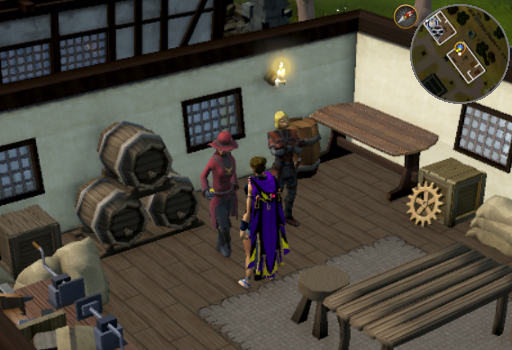 Image last updated: May 04, 2022 Update Image?
Congratulations, quest complete!
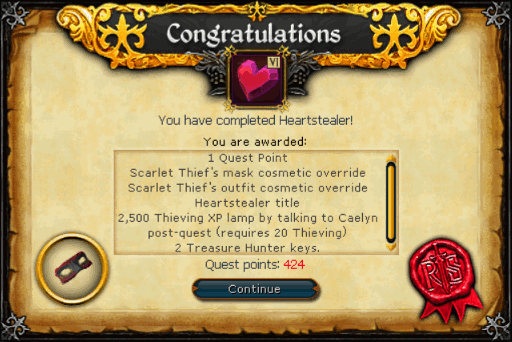
Image last updated: May 04, 2022 Update Image?
If you have 20 Thieving or above, you can talk to Caelyn after the quest is completed to obtain a Thieving lamp of 2,500 experience. Obtaining this lamp is a $ilnkfull27076 requirement and unlocks the "Redistribution of Knowledge" achievement.
Rewards
| Scarlet Thief's mask and outfit cosmetic overrides | Heartstealer title | 2Treasure Hunter keys | Access to a 2,500 thieving xp lamp* |
Guide Credits & History
| Writers | 3ter 1 and ChathMurrpau |
|---|---|
| First Uploader | Chath |
| Date Added | Aug 20, 2021 |
| Last Updater | Alk12 |
| Last Updated | May 04, 2022 |
Guide Feedback
Rate this guide
You can report issues without logging in. Log in to leave ratings and watch pages.
Want to help keep RuneHQ's guides up to date?
We're always looking for knowledgeable players to write, review, and improve our content. Join the team and help thousands of adventurers.