Golem, The
Quest Details
| Difficulty | Intermediate |
|---|---|
| Type | Quest |
| Length | Medium |
| Quest Points | 1 |
| Members | Yes |
Start Point
The Ruins of Uzer, in the desert, east of the Shantay Pass.
Quests Unlocked/Partially Unlocked by Completing This Quest
Items Needed
Items Acquired During Quest
Desert shirt, Desert robe, Desert boots, Knife, Waterskins (4) OR Enchanted water tiara, Amulet of glory(4) OR Ring of duelling(8) OR Broomstick, Digsite pendant, and a Varrock teleport method.
Walkthrough
-
Talk to the Broken Clay Golem at the Ruins of Uzer, and he will tell you he needs repairs. Use 4 pieces of Soft clay on the golem to repair him and talk to him again. The golem will thank you and tell you that he must now finish his mission by killing a great demon. He will asks you to help him open the portal to this demon. Talk to him once more time to learn that to open the portal the statuettes downstairs must be arranged in the correct order.
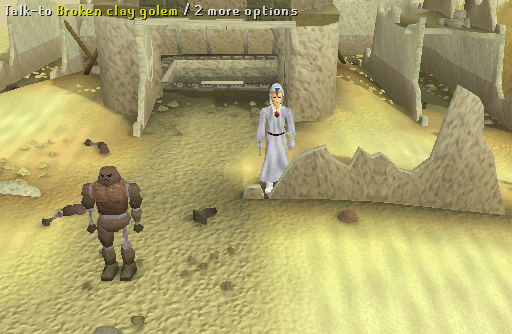 Image last updated: Oct 08, 2016 Update Image?
-
Descend into the ruins. Pick up a Black mushroom in the souteastern corner of the ruins and grab the Strange implement laying in the northwestern corner. Use the mushroom with the Pestle and mortar whilst having an empty Vial in your inventory to produce a vial of Black mushroom ink.
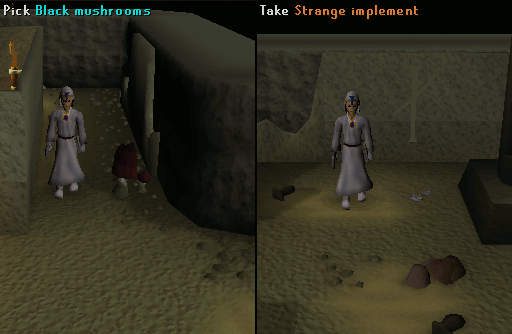 Image last updated: Oct 08, 2016 Update Image?
-
Head back up and to the west of the entrance, you will find a Letter. Pick it up and read it to learn that it was written by Elissa, one of the archeologists from the Digsite.
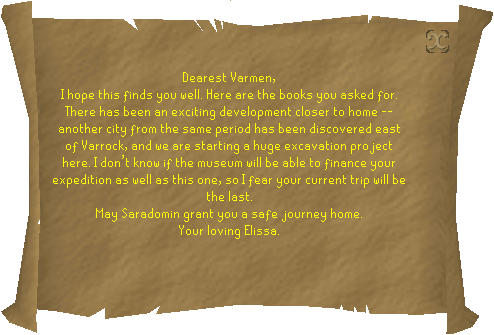 Image last updated: Oct 08, 2016 Update Image?
-
Talk to Elissa at the northeastern end of the Digsite about the letter you found. She will tell you to look for the expedition notes in the Exam Centre library.
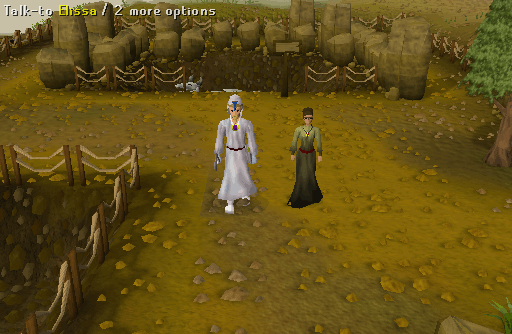 Image last updated: Oct 08, 2016 Update Image?
-
Head south to the Exam Centre and search the bookcases in the southeaster corner to find Varmen's notes. Read it to learn more about the Clay Golems and the Ruins of Uzer.
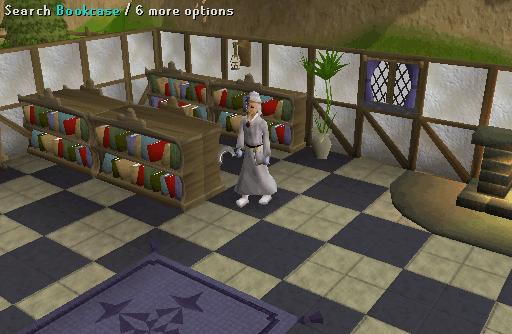 Image last updated: Oct 08, 2016 Update Image?
-
Go to the Varrock Museum and talk to the Curator Haig Halen about the Statuette. Tell him that you need it to defeat a demon, but the curator will forbid it.
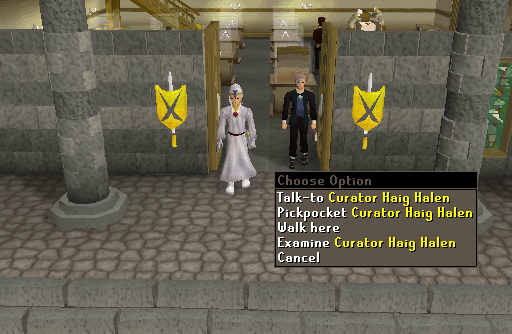 Image last updated: Oct 08, 2016 Update Image?
-
Pickpocket the Curator's pockets for a Display cabinet key. Head upstairs and use the key to open the display case containing the Statuette.
Note: If you lose the Statuette, talk to and pickpocket the Curator Haig Halen again. He will say that the statuette that had been stolen has been returned. Head upstairs and open the dispay cabinet to retrieve the Statuette.
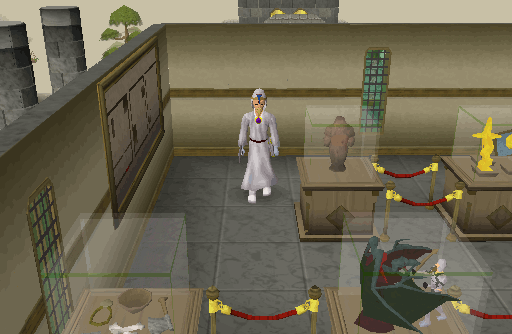 Image last updated: Oct 08, 2016 Update Image?
-
Before you return to the Ruins of Uzer, head back to Shantay Pass and run directly east past through the gate into the desert. Start walking to the bridge near the Dominion Tower. Before you cross the bridge, take the path north along the river and grab a Phoenix feather off of the Desert phoenix.
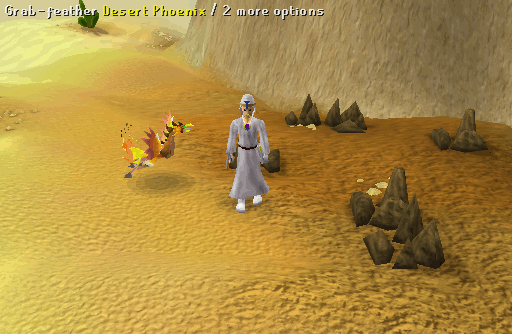 Image last updated: Oct 08, 2016 Update Image?
-
Descend into the ruins again and place the Statuette in the empty alcove. Turn all the statuettes so that they are facing the door to the north. When you have successfully arranged the statuettes in the correct order, the double doors will grind open.
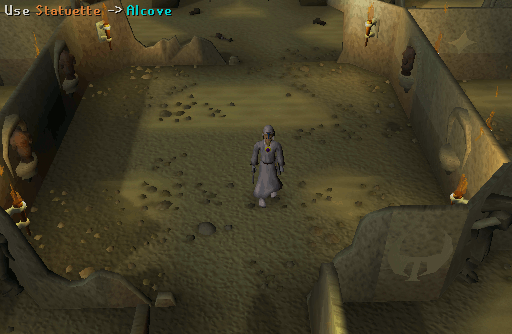 Image last updated: Oct 08, 2016 Update Image?
-
Go through the double doors and examine the skeleton to the east to find that the demon is dead.
Note: Use your Hammer and Chisel on the demon throne to the north to receive 2 Sapphires, 2 Emeralds, and 2 Rubies.
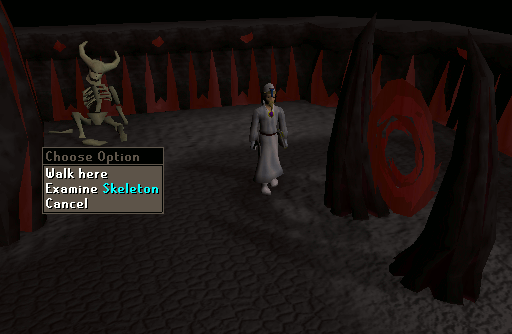 Image last updated: Oct 08, 2016 Update Image?
-
Return to the Broken Clay Golem and tell him that the demon is dead. Because he is programmed to destroy the demon, he will not accept that the task is done.
-
Dip the Phoenix feather in the Black mushroom ink to make a Phoenix quill pen. Use the Phoenix quill pen with the piece of Papyrus to write a new Golem program. Now, use the Strange implement with the Golem to open up his skull and quickly insert the Golem program by using it with him. The Golem will accept the new program and give you your reward.
Congratulations! Quest complete!
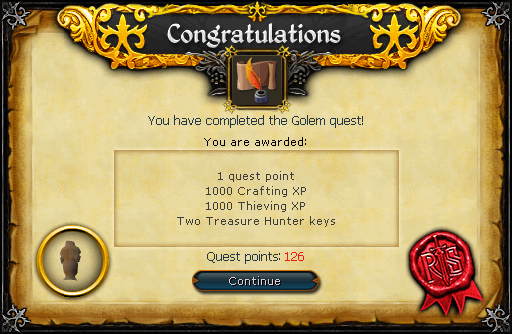 Image last updated: Oct 08, 2016 Update Image?
Rewards
1K Crafting XP, 1K Thieving XP, the ability to travel between the Shantay Pass, the Ruins of Uzer by magic carpet, and 2 free keys for Treasure Hunter.
Guide Credits & History
| Writers | uber |
|---|---|
| Contributors | Fireball0236, Skippmoonray, Ssvash1, R K O Orton, cruchible, DRAVAN, Icedive, Esgrim, Runeplayinmom, King-0wnage, sw1ndla, kennykalzone, Alfawarlord, Madjosh100, xXBMTHXx, Rednar, Mr Cusin, Owain121, and Sirius XM |
| First Uploader | Lewt04 |
| Date Added | Apr 11, 2005 |
| Last Updater | DarkPyroNinja |
| Last Updated | Oct 08, 2016 |
Guide Feedback
Rate this guide
You can report issues without logging in. Log in to leave ratings and watch pages.
Want to help keep RuneHQ's guides up to date?
We're always looking for knowledgeable players to write, review, and improve our content. Join the team and help thousands of adventurers.