Ernest the Chicken
Quest Details
| Difficulty | Novice |
|---|---|
| Type | Quest |
| Length | Medium |
| Quest Points | 4 |
| Members | No |
Start Point
Entrance to the grounds of Draynor Manor, north of Draynor Village.
Requirements
Skill Requirements
None.
Quests Unlocked/Partially Unlocked by Completing This Quest
Items Needed
None.
Items Acquired During Quest
None.
Walkthrough
-
Talk to Veronica at the bottom of the path to Draynor Manor and she will tell you she and her fiancé, Ernest were lost and he went into the manor around an hour ago to ask for directions, but hasn't returned. She'll then ask you if you'll go inside and see if you can find him since the manor looks too spooky for her. Accept the quest and she'll tell you that she saw some flashing lights on the top floor and suggests you start by looking up there.
Note: The easiest way to reach Draynor Manor is via the Draynor Village lodestone home teleport and walking north.
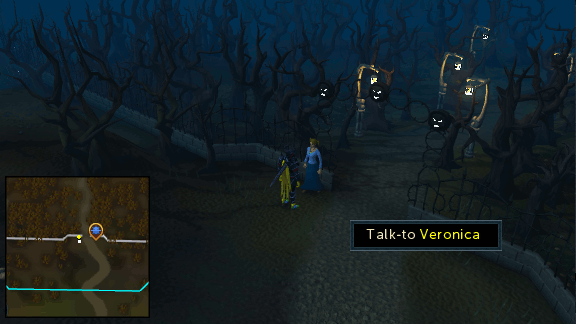 Image last updated: Feb 02, 2020 Update Image?
 -
Head north up the path towards the manor and go through the Large door. Once inside, climb the staircase in the middle of the entrance hall and then the ladder next to it on the second floor.
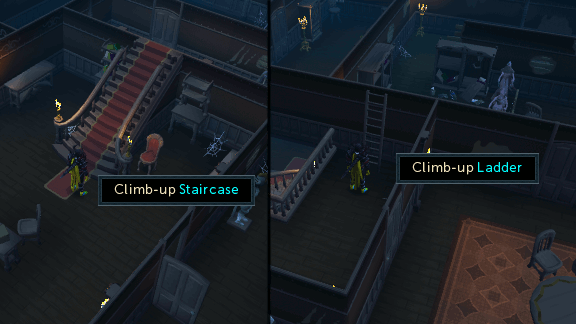 Image last updated: Feb 02, 2020 Update Image?
Once on the top floor, go into the east room and you'll find Professor Oddenstein. Tell him you're looking for a guy called Ernest and he'll tell you that Ernest helped him test his pouletmorph machine and has been turned into the chicken wandering around the room.
Tell the Professor to change him back and he'll inform you that the machine is broken as the manor's poltergeists have stolen and hidden the vital parts of his machine. Volunteer to help him find them and he'll tell you to find a pressure gauge, Rubber tube and Oil can.
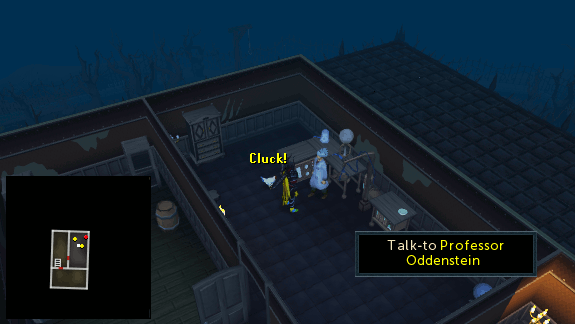 Image last updated: Feb 02, 2020 Update Image?
 -
Starting with the Oil can, you'll need to head back down to the first floor and then go into the west room. Find the unlit Candle sconce on the wall and search it to open a secret door in the wall and allow you to enter the most western room. Now climb down the ladder in this room to find yourself in the manor basement.
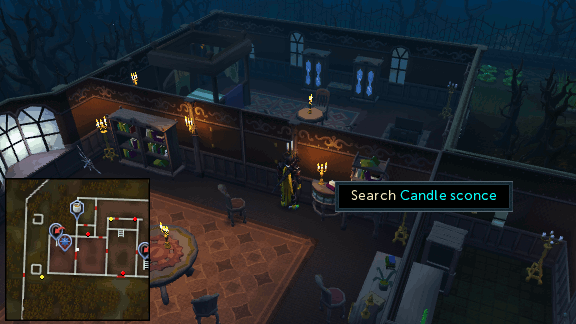 Image last updated: Feb 02, 2020 Update Image?
 -
In the cell on the west side of the basement you'll see the Oil can, however you'll need to find a way to open the door so that you can pick it up. To do so, you'll need to pull the levers found around the basement in this order:
 Image last updated: Feb 02, 2020 Update Image?
- Pull Lever A and B and open Door 1
- Pull Lever D
- Open Door 2 and 3
- Pull Lever A and B
- Open Door 3, 4 and 5
- Pull Lever E and F
- Open Door 6 and 7
- Pull Lever C
- Open Door 7 and 6
- Pull Lever E
- Open Door 6, 8 and 3
- Open Door 9 and take the Oil can
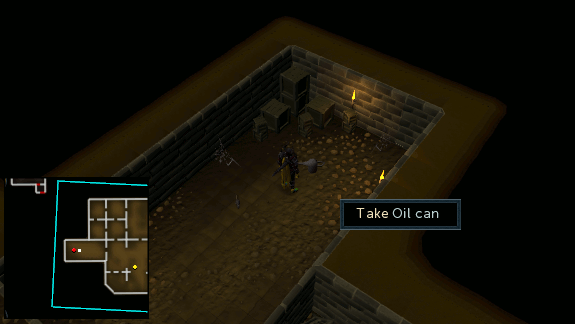 Image last updated: Feb 02, 2020 Update Image?
 -
Now for the Rubber tube. Climb up the basement ladder to get back to the first floor and then pull the lever on the east wall to pass through the secret door again. Make your way over to the southeast room of the manor and open the door on the north wall to get back outside.
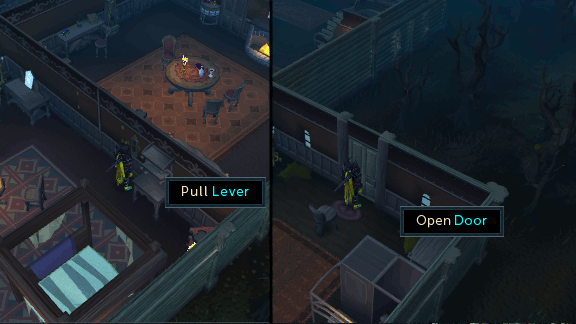 Image last updated: Feb 02, 2020 Update Image?
 -
Once outside, run over to the west side of the manor to find a Compost heap that you can search. Do so and you'll find a Grimy key which you can use to obtain the Rubber tube.
 Image last updated: Feb 02, 2020 Update Image?
 -
Go back inside the manor through the front door and make your way to the storage room on the north side of the first floor, open the door and take the Rubber tube from the table in the corner.
Note: You'll be attacked by a Skeleton when you take the tube and you can either kill it or just exit the room.
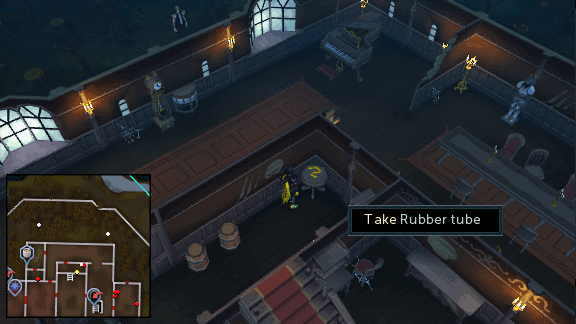 Image last updated: Feb 02, 2020 Update Image?
 -
Finally, it's time to find the Pressure gauge. Go back up the staircase in the entrance hall to the second floor and head into the room directly south of the staircase. Kill or ignore the Ghost and pick up the Fish food from the table.
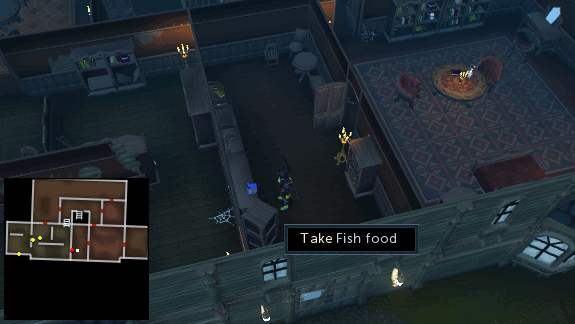 Image last updated: Feb 02, 2020 Update Image?
 -
Now make your way back downstairs into the kitchen in the northwest corner of the manor. Open the door to the storage room, take the Poison from the table and use this on the Fish food to get Poisoned fish food.
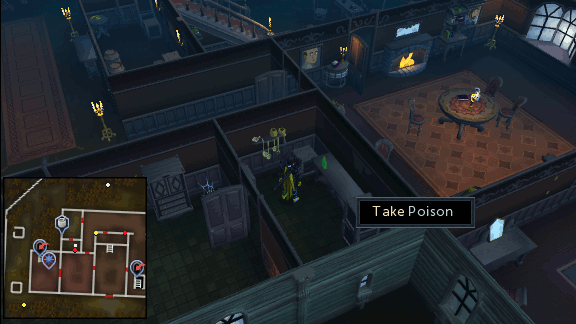 Image last updated: Feb 02, 2020 Update Image?
 -
Exit the manor through the door in the southeast room (or teleport to the Draynor Village lodestone) and make your way to the southwest corner of the manor grounds where you'll find a fountain filled with piranhas. Use the Poisoned fish food on the fountain to kill the piranhas, allowing you to search it and find the
Pressure gauge.
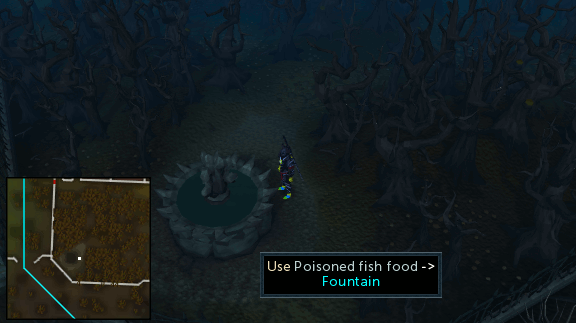 Image last updated: Feb 02, 2020 Update Image?
 -
Take the Oil can, Rubber tube and Pressure gauge back to Professor Oddenstein on the top floor of the manor and he'll fix the pouletmorph machine, transforming Ernest back into his normal self. He will then thank you and give you a reward.
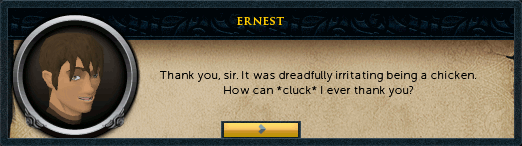 Image last updated: Feb 02, 2020 Update Image?
Congratulations! Quest Complete!
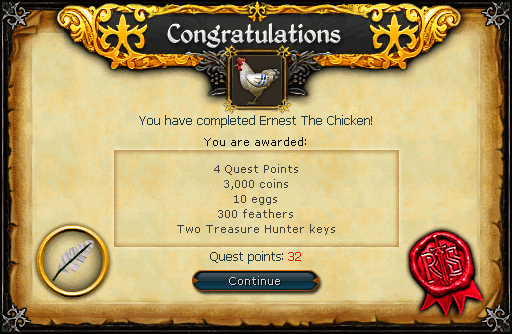 Image last updated: Feb 02, 2020 Update Image?
Rewards
Guide Credits & History
| Writers | Javezz |
|---|---|
| Contributors | Henry-X, Sccrluk9, Skeletonmat, Torontodude420, BobbehMan, Greg, and Motion_Man |
| First Uploader | Weezy and CJH |
| Date Added | Feb 19, 2004 |
| Last Updater | Chath |
| Last Updated | Feb 02, 2020 |
Guide Feedback
Rate this guide
You can report issues without logging in. Log in to leave ratings and watch pages.
Want to help keep RuneHQ's guides up to date?
We're always looking for knowledgeable players to write, review, and improve our content. Join the team and help thousands of adventurers.